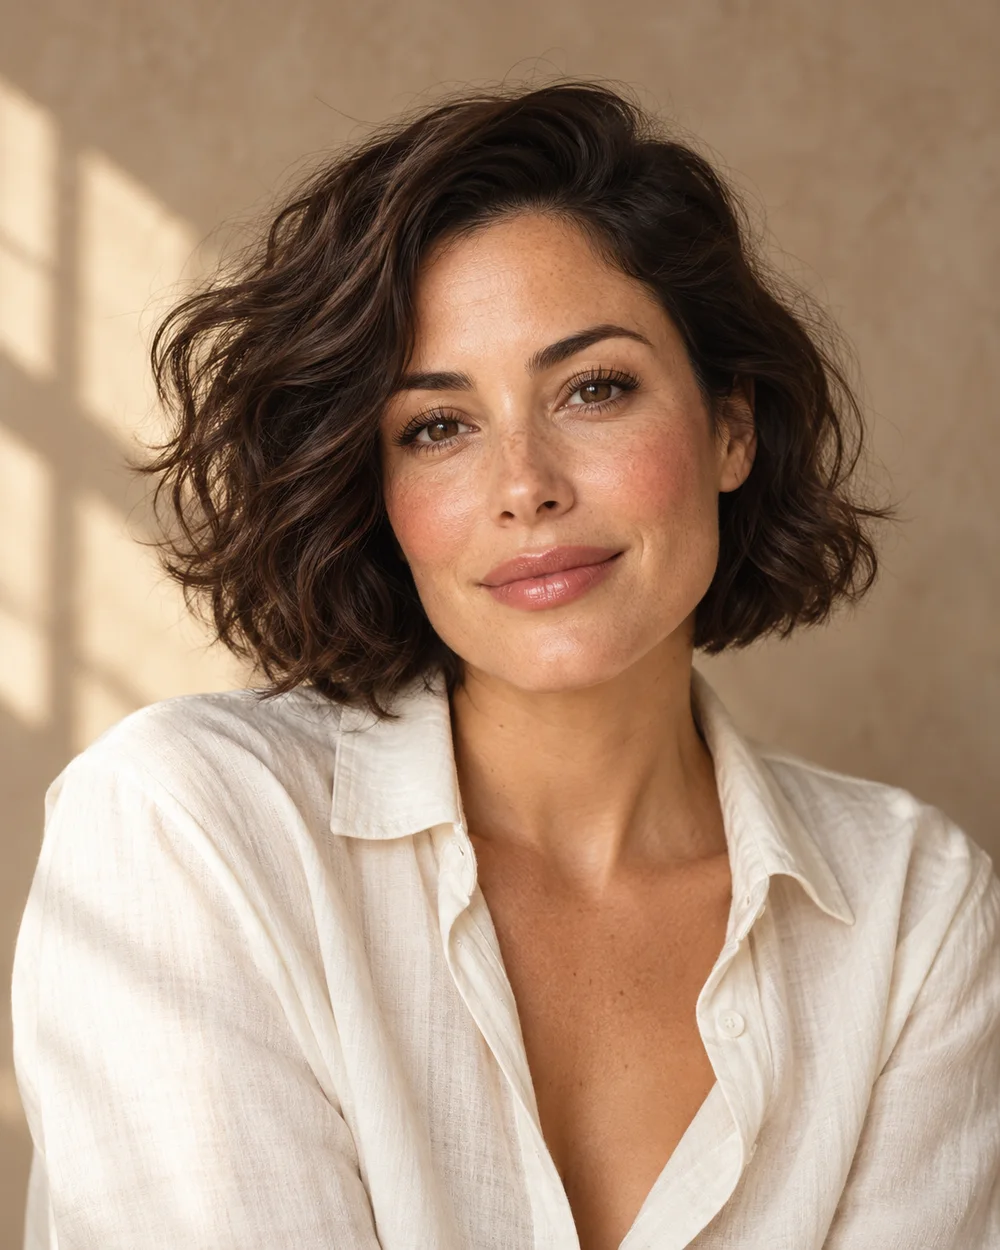
This everyday look uses one soft eye colour, a little lash definition and related cheek and lip shades. The eye colour is planned with your eyes relaxed so you can see the result you are creating. Monolids do not all share one shape or amount of visible lid space. The steps give you a way to make decisions, rather than an instruction to copy a crease or change the character of your eyes.
Choose a colour and a boundary
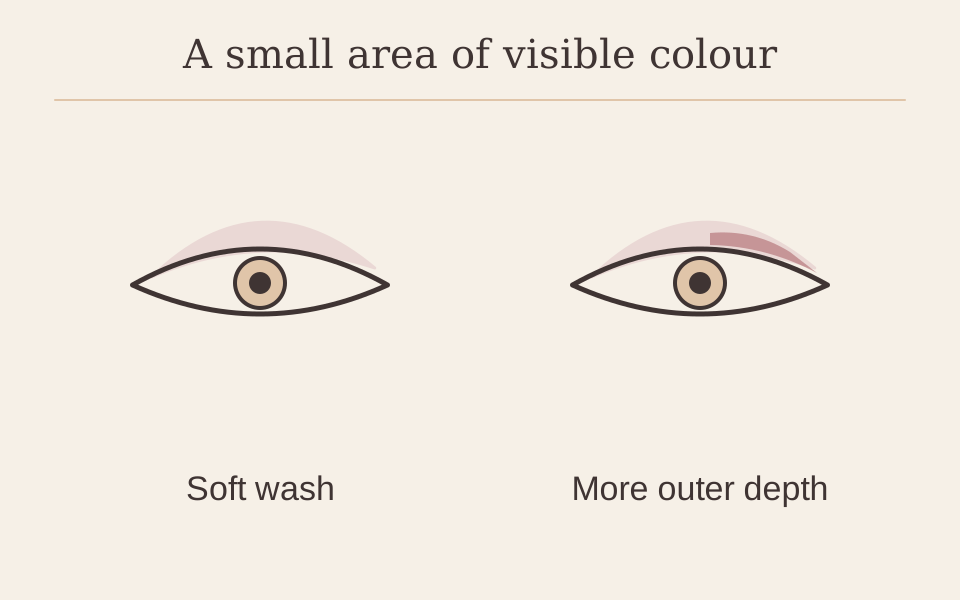
Look straight into a mirror at a comfortable height. Notice which outer part of the lid is visible and choose a modest area for your first shadow patch. You can map that area with a small amount of the actual shadow rather than drawing a hard outline. Begin with a shade that creates the level of contrast you want against your skin; “soft” can be deep brown, muted plum or taupe as well as beige.
Set out a small placement brush and a clean blending brush if you have both. One puts colour where you want it; the other lets you soften the boundary without adding more. Use products labelled for the eye area and follow their directions. A face or lip colour is not automatically suitable for this job.
Create the whole look
- Place a small outer patch. With your eye relaxed, touch a little shadow onto the area you chose. Keep the first patch smaller than your final idea. Look ahead before adding more so you can see whether the colour is visible where you want it.
- Connect the colour towards the lashes. Lower your gaze slightly if needed to work comfortably, then fill the space between that patch and the external upper lash line. You are connecting a chosen shape, not trying to colour an imaginary crease.
- Soften only the outside edge. Use the clean brush with light movements at the boundary. Leave the central colour where you placed it. If the patch spreads farther than intended, stop blending and reassess before adding anything.
- Compare the open-eye effect. Look straight ahead and check each eye separately. Add a little colour only to an area that needs it. Different amounts of visible space may call for slightly different placements to create the balance you enjoy.
- Add optional lash definition. Use a short pencil line at the external upper lashes, or mascara as directed, if either is part of your routine. Keep a wing optional. Shadow with a softened edge can carry the eye without an extended line.
- Finish cheeks and lips. Choose a cheek and lip colour that feel comfortable with the shadow. A soft rose, peach or brown family can work at many depths. Apply each lightly, step back, and decide whether you want the eye or lip to be the main emphasis.
Choose your approach
One-colour everyday version
Use one shadow and leave the liner out. Keep the cheek softly coloured and the lip easy to apply.
More upper-lash definition
Add a short line at the outer upper lashes while keeping the shadow footprint the same. Change the contrast without automatically making the shape larger.
If the result is not what you wanted
| What you notice | Try this |
|---|---|
| The shadow disappears when you look ahead | Recheck the small visible outer area with your eyes relaxed. Move the next test patch slightly before adding darkness across the whole lid. |
| The upper edge keeps getting higher | Use a smaller amount and a smaller brush. Soften the boundary where it already sits instead of sweeping repeatedly above it. |
| One eye has more visible colour | Judge the relaxed open-eye result. Adjust a small patch on one side; the closed-eye shapes do not have to match exactly. |
| The look feels more dramatic than planned | Keep the shape but use a lighter application next time. Contrast and area are separate choices, so change one before changing both. |
Questions you might have
Do I need to draw a crease?
No. This look uses a visible colour shape and a softened boundary. A crease effect is a separate optional style.
Can I use shimmer?
Yes, if the actual product is intended for the eye area and you like its effect. Start in a small part of the chosen shape so you can compare the texture with your eyes open.
How is this different from a gradient tutorial?
This routine builds a complete everyday face with one eye colour. A gradient focuses on the transition between depths within the shadow itself.
The small-wing guide is useful if you want to add a separate liner detail later. Keep the rest of the face simple with the everyday colour sequence.
Makeup placement and colour are personal choices; adjust the steps to suit you. Follow the directions on your own products.