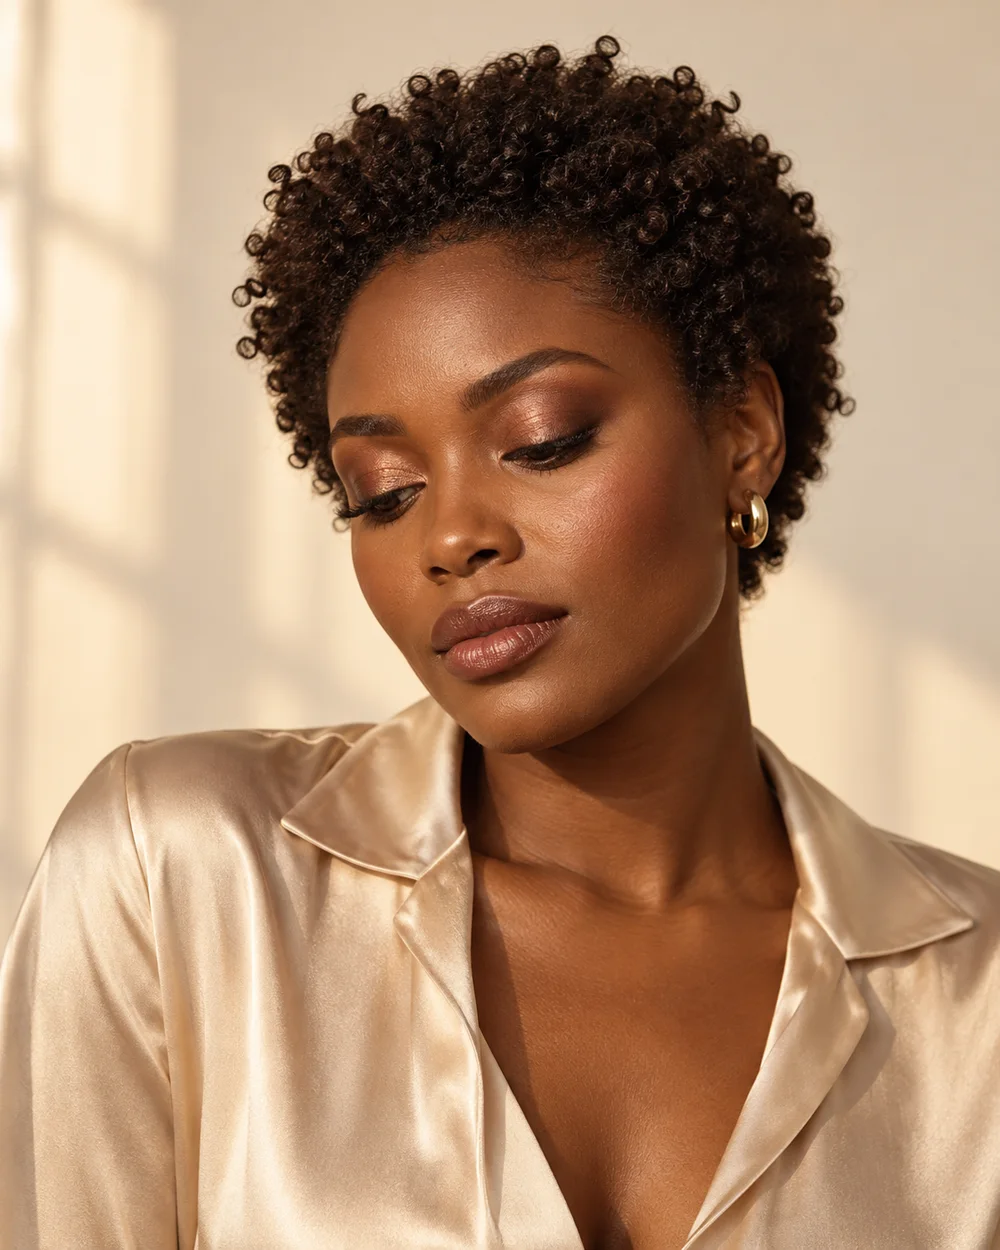
If shadow seems to disappear when you open your eyes, the issue may be placement rather than a missing palette. Begin by looking at the area of colour you can actually see with your face relaxed. Your lid fold is simply part of the shape you are working with; it does not need to be disguised for makeup to look intentional.
Plan the visible edge
With both eyes open, look straight ahead and notice where the fold sits. Choose a small outer area for the first soft shade. You can place a little colour where it remains visible, rather than assuming all shadow belongs inside a crease line seen only when the eye is closed. Charlotte Tilbury’s hooded-eye guidance also uses an open-eye placement check.
Try a two-shade version
- Start with the soft shade. Pick a matte eyeshadow with a level of contrast you feel comfortable wearing. Use a small brush and a little product. Place the colour at the outer visible area while checking the eye in its relaxed position.
- Blend the outside edge. Use a clean brush or a clean part of the brush to soften the boundary. Keep the shape contained until you have checked both eyes; it is easier to add colour than to shrink a large blended area.
- Add the lid shade. If you want shimmer, apply a small amount of an eye-safe shadow to the part of the lid you want to highlight. Keep this as a separate placement decision rather than covering the whole eye automatically.
- Check the join. Open the eyes and see whether the two shades form the effect you intended. Gently join the edges where necessary, leaving some space between the colour and brow if that suits your chosen shape.
- Finish with optional definition. A narrow line at the upper lashes can add contrast. You can keep it shorter than a wing, particularly while you are learning the shadow placement.
Choose your approach
Colour disappears when you look ahead
Recheck the placement of a small outer patch before adding more depth everywhere.
The shape grows too large
Use less product and contain the first patch; blend its boundary rather than spreading the whole shape.
Keep the rules flexible
There is no universal ban on shimmer or requirement for a dramatic cut crease. This guide offers one modest starting point. The right amount of visible colour is the amount you want to see, and it can change from an everyday look to an evening one.
What to change when the placement feels wrong
| What you see | Try this |
|---|---|
| The shadow vanishes as you look ahead | With brows relaxed, identify a small visible outer area. Add a little soft colour there before making the whole eye darker. |
| The blended shape reaches too close to the brow | Use less product and a smaller placement brush next time. Blend the boundary rather than repeatedly sweeping through the whole patch. |
| One eye looks more heavily shaded | Compare the amount of colour visible with both eyes open. Adapt each side to its fold; copying the same closed-eye outline can give different open-eye results. |
| The eye looks crowded once liner is added | Try leaving off the wing or keeping the line to the outer upper lashes. Shadow and liner do not each need to occupy the whole visible lid. |
Questions you might have
Should I raise my eyebrows while applying?
Use a relaxed, straight-ahead view to decide what should remain visible. You can change your viewing angle to reach an area, then return to that relaxed view to judge it.
Can I use shimmer?
Yes, if you enjoy the effect and the product is intended for the eye area. Place a small amount where you want reflection; a matte-only rule is not required for this look.
Makeup placement and colour are personal choices; adjust the steps to suit you. Follow the directions on your own products.