
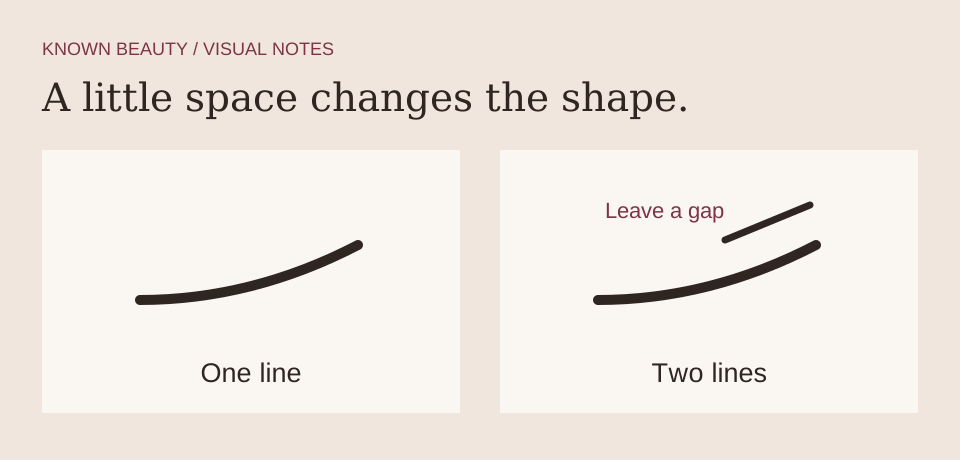
Graphic liner works through placement and contrast rather than lots of different products. This version starts with a short outer line and adds a separate small accent above it if you want one. Keeping a gap between the marks makes the shape intentional without requiring a perfect sweep across the whole lid.
Choose a shape you can see
With your eyes open and your face relaxed, decide where the mark should sit. Keep it outside the waterline and away from the inner corner. You can choose a short horizontal dash, a small outward flick or a gentle curve. Test the placement with the smallest amount of your eye liner before committing to a thicker line.
Build the graphic detail
- Anchor the first mark. Draw a short line near the outer upper lashes. Use a comfortable length that you can see when looking straight ahead. Compare its position on the other eye before adding more.
- Refine rather than enlarge. Join tiny gaps in the line with short strokes. When one side differs, adjust only the part that bothers you. The aim is a balanced idea on your own eyes, not ruler-straight symmetry.
- Add the optional accent. Place a second, shorter mark above the first, leaving visible bare skin between them. Check that a lid fold does not hide the gap in your usual gaze. Skip this entirely for the quieter version.
- Let the formula settle. Follow the product’s instructions and avoid repeatedly going over a drying line. If a section needs restarting, remove it carefully with an appropriate remover instead of scratching at the edge.
- Leave room around it. A plain lid and a familiar lip colour let the line remain the main event. Add mascara if you want, but you do not need extra eyeshadow to make the idea complete.
Choose your approach
One-line version
Keep a short outer flick as the focal point; a bare lid gives it space.
Two-line version
Add a shorter accent above it, leaving a visible gap when your eyes are open.
Make it softer or bolder
A dark brown line can feel quieter than a high-contrast black one. A coloured eye liner can turn the same small shape into the focal point. Use a cosmetic specifically intended for the eye area; a lip pencil or decorative paint is not an automatic substitute.
Troubleshoot the shape, one detail at a time
| What you see | Try this |
|---|---|
| The gap disappears with eyes open | Recheck the two marks with your face relaxed. Shorten or reposition the optional accent so bare skin is visible, or return to the single-line version. |
| One line keeps becoming larger | Choose the smaller side as your reference. Remove the extra section on the larger side instead of extending both marks again. |
| A second pass lifts the first line | Pause and check the formula instructions. Avoid repeatedly brushing through a drying line; remove and restart the affected section if needed. |
Questions you might have
Must both closed-eye shapes be identical?
No. Compare their visible weight and direction in your ordinary open-eye gaze. Your folds may require slightly different placement.
How should I practise?
Repeat one short shape before changing its colour or adding the second mark. Record one adjustment, such as a shorter tip. The illustration shows a mood, not a photographed demonstration of these steps.
Makeup placement and colour are personal choices; adjust the steps to suit you. Follow the directions on your own products.


