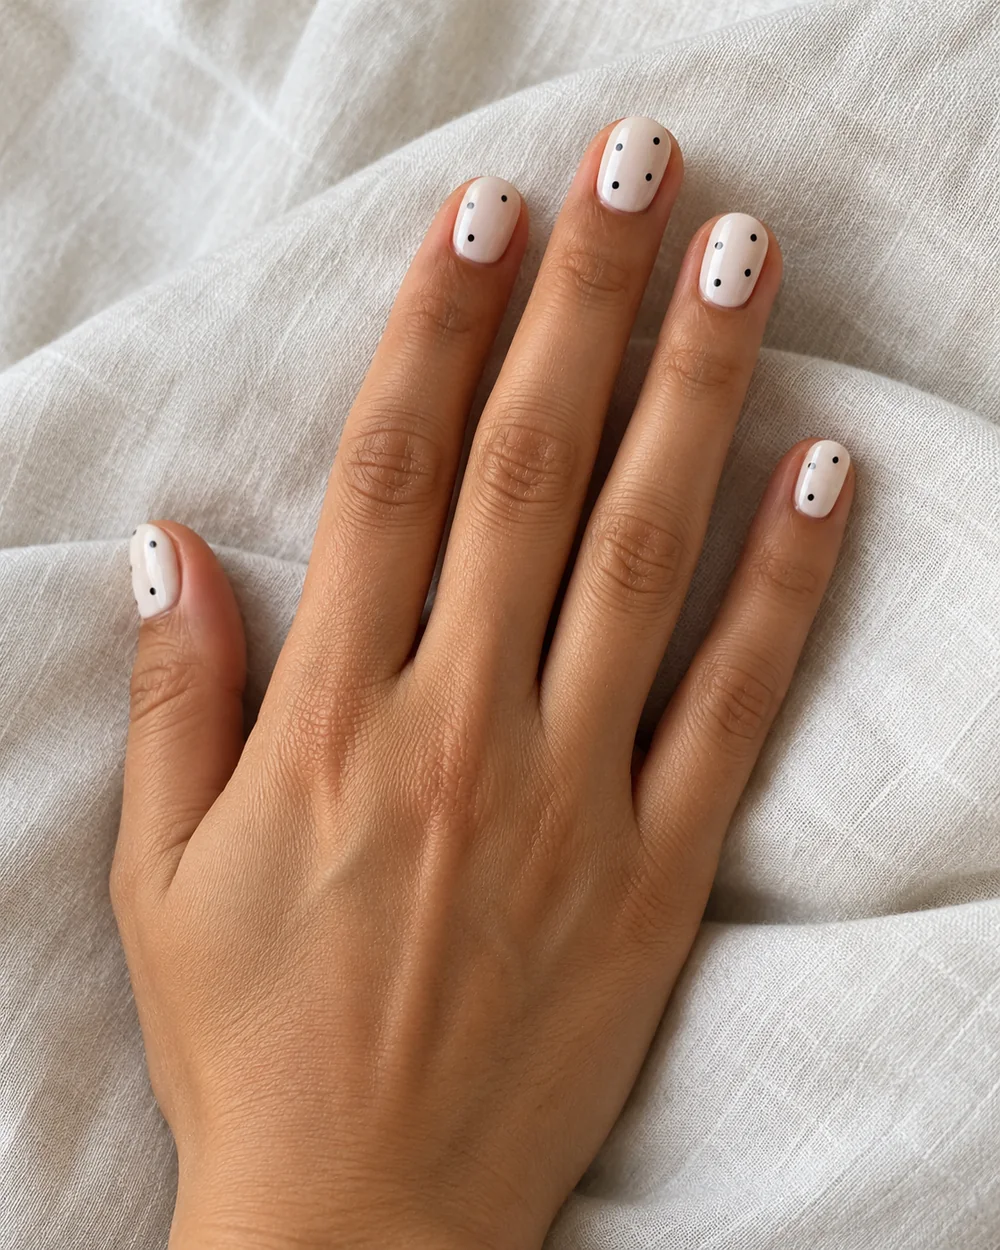
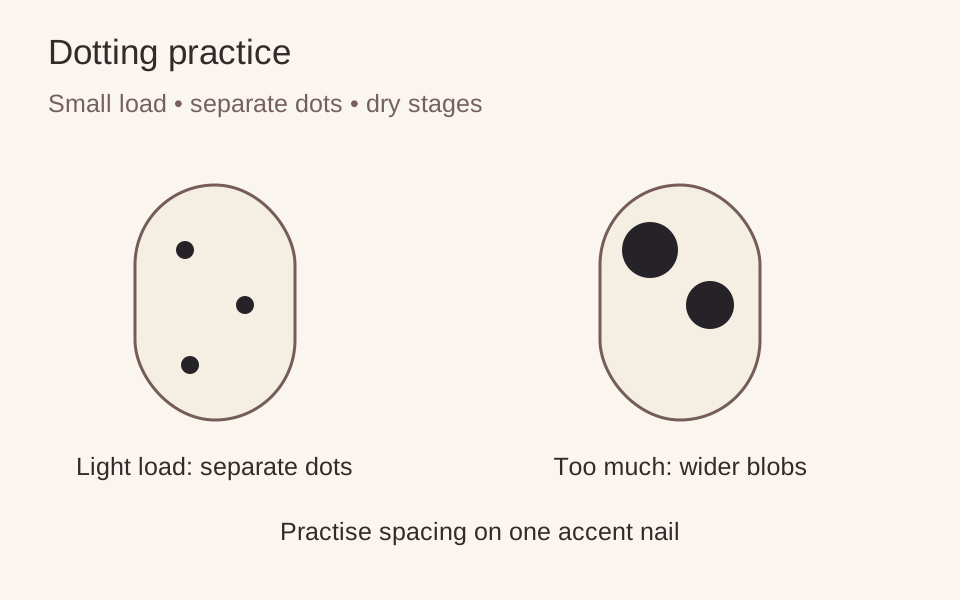
One useful practice goal is enough: make a few separate dots with reasonably consistent spacing. Black on creamy white is easy to read, as the single-hand illustration shows, but you can use brown on pale pink or another pair you already own. Choose ordinary air-drying polish for this session; a gel or lamp routine is a different process.
Google’s April 2026 spring report highlighted polka-dot nail searches. The dot spacing can be practised in small sections.
Round one belongs on a practice surface
Cover the table and work with ventilation, away from flames and heat. Read the polish and remover directions. FDA nail-product guidance stresses labelled use and ventilation; keep these products away from eyes and avoid getting polish onto surrounding skin. This lesson does not include cutting cuticles, drilling or applying extensions.
Use a clean dotting tool with a rounded end. Essie’s original nail-art guide also describes a rounded grip tip as an alternative. Put a small amount of the dot colour on a disposable practice surface and make several marks there. Compare a freshly loaded tip with one carrying less polish. You are learning the load that gives the dot size you want.
Round two: one accent nail
Prepare the nail and apply base and colour according to the products’ directions. Keep layers controlled and allow the base colour to dry before dotting. Support your hand comfortably on the table. Place one dot, lift the tool straight away and pause. Pressing repeatedly into the same dot can turn it into a larger uneven patch.
Add two or three more with space between them. Do not try to fill every blank area. A loose arrangement can look intentional; an exact grid requires a different level of planning. Reload only when the dots stop forming cleanly, and wipe the tool as needed using a method suitable for it.
Choose the next variable
If the dots spread, compare a smaller load and check whether the base was ready. If the dots shrink unpredictably, compare how much polish remains on the tool. If spacing feels crowded, use fewer dots on the next nail rather than making every dot smaller while changing colours too.
Once the decoration is dry as directed, add a compatible ordinary top coat if wanted, avoiding repeated strokes that drag the pattern. Follow the stated drying time before handling clothes or bags. No top coat makes a fresh manicure instantly ready for every task.
Keep the first finished nail as a reference for size and spacing. You can leave it as the only patterned nail, continue the design or remove it with suitable remover. A successful round is a small set of separate dots you like, not ten identical miniature prints.
Adapt the design, nail length and colours to your preferences. Follow the directions on your own nail products.