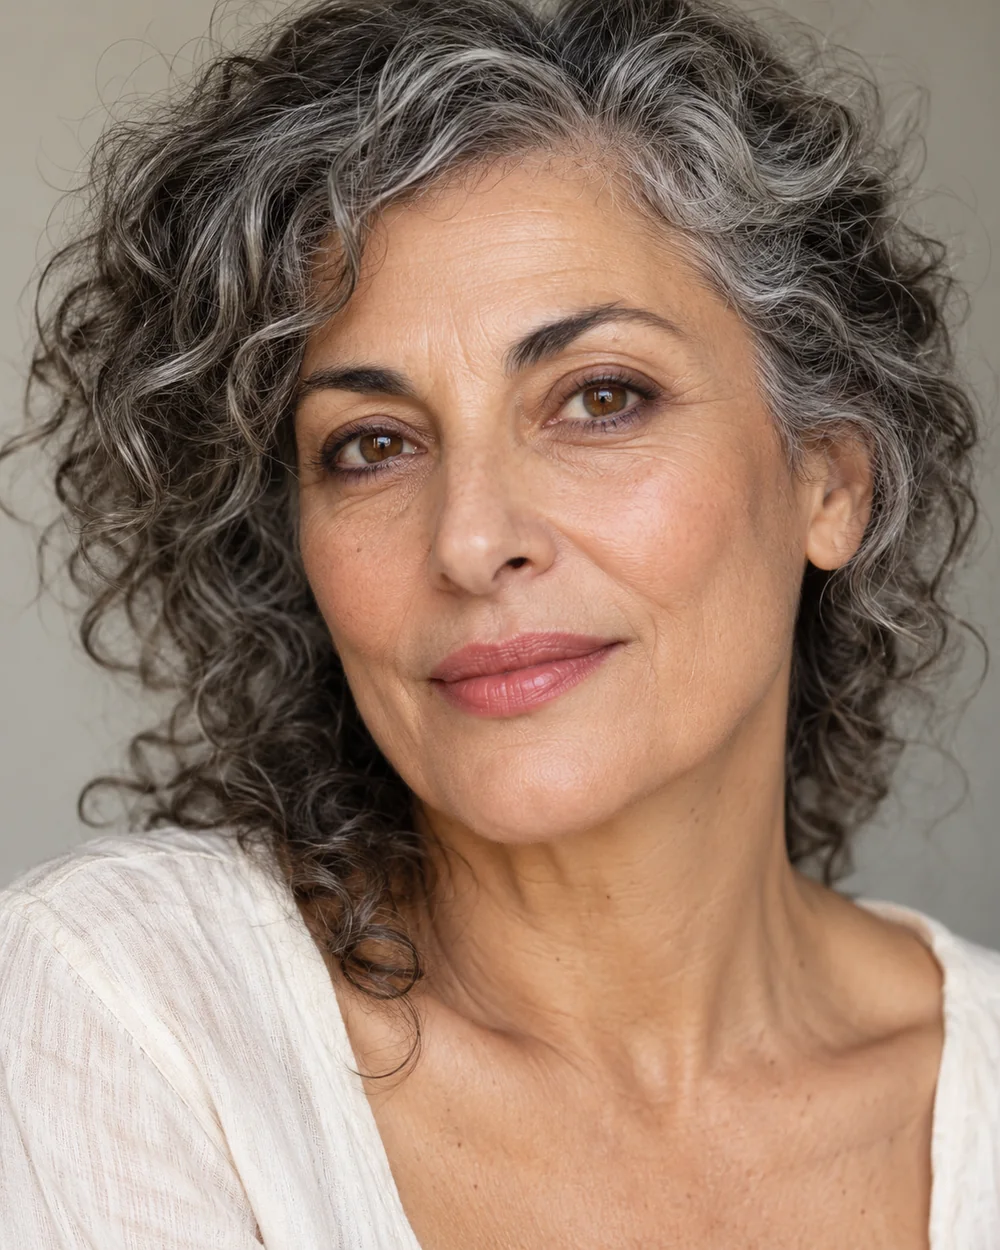
Give this exercise one small goal: place a readable shadow below the outer lashes without turning it into a wide under-eye band. The lower-lash emphasis associated with a reverse cat eye can be reduced to a narrow soft mark. The fictional mature model shows a brown-plum version; a full black sweep is not the starting requirement.
Reverse-cat-eye makeup appears in Pinterest’s October 2026 report. Keep this version on external skin, with a narrow shape and no waterline lining.
Round one: make the mark shorter
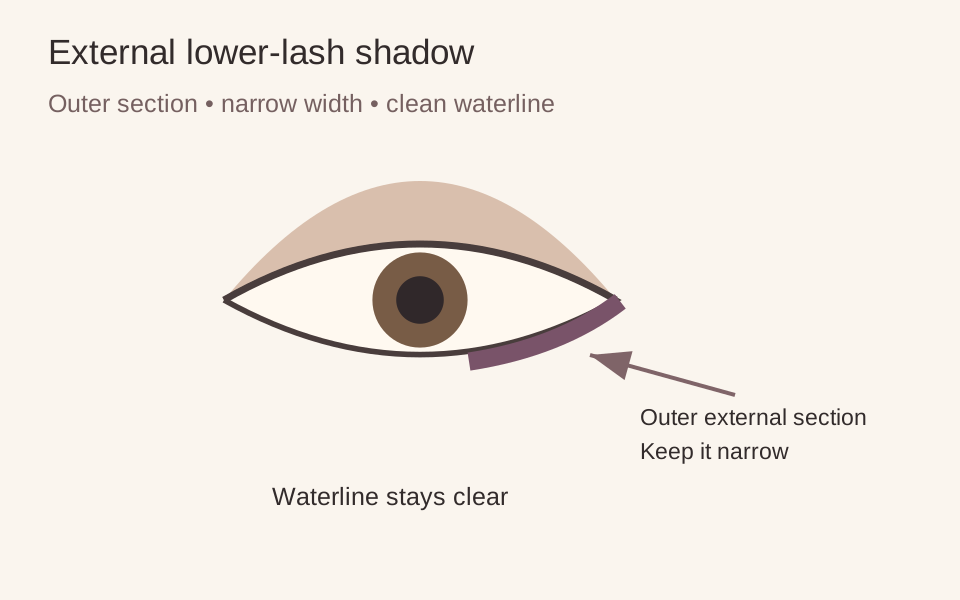
Choose a medium brown or plum that you can see without loading the brush heavily. Sit at a stable mirror, rest an elbow and keep the face relaxed. Look slightly up if that makes the external lower lashes easier to see; do not pull the lid down or place powder against the eye itself.
Touch the brush near the outer lower lashes and work in short marks along the outer third or half, staying on the skin. Keep the first line narrow. Stop before the inner corner. You can leave it this short; joining every part of the eye is not necessary.
Round two: soften one boundary
Use the clean brush to soften only the lower edge of the shadow. Move gently within the same small area rather than sweeping pigment downwards. Check straight ahead before returning to the close mirror. A soft mark can remain visible without a perfectly crisp border.
If you want a small outward continuation, follow the direction you like at the outer corner with very little product. Keep it short enough to judge while the eyes are open. If the line crosses a fold and breaks, shorten it rather than stretching the skin to draw a shape that disappears when released.
Choose the adjustment
If the effect looks heavy, first reduce its width or length. Adding pale concealer directly against a broad dark band can create another strong edge. Remove the outer part with a suitable eye remover, follow its cleanup directions and replace only the small mark you wanted. For a softer contrast, compare brown instead of black or a lighter product load instead of another shade.
If the mark is scarcely visible through glasses, check it with the frames on at conversational distance. You may decide that a small glimpse is enough. If the colour seems uneven, distinguish an application gap from the natural shadows and texture of the area; more pigment is not automatically the answer.
Finish when the small shape holds together
Keep the upper lid quiet and add familiar mascara to the upper lashes if wanted. You do not need a heavy upper wing to legitimise the lower emphasis. Follow the label’s area-of-use directions and use clean tools, as FDA guidance advises. Stop if a product irritates the area. If comfortable external placement is difficult, choose upper-lid shadow instead. A finished practice attempt is one deliberate lower-lash mark that looks the way you intended when your face moves.
Makeup placement and colour are personal choices; adjust the steps to suit you. Follow the directions on your own products.