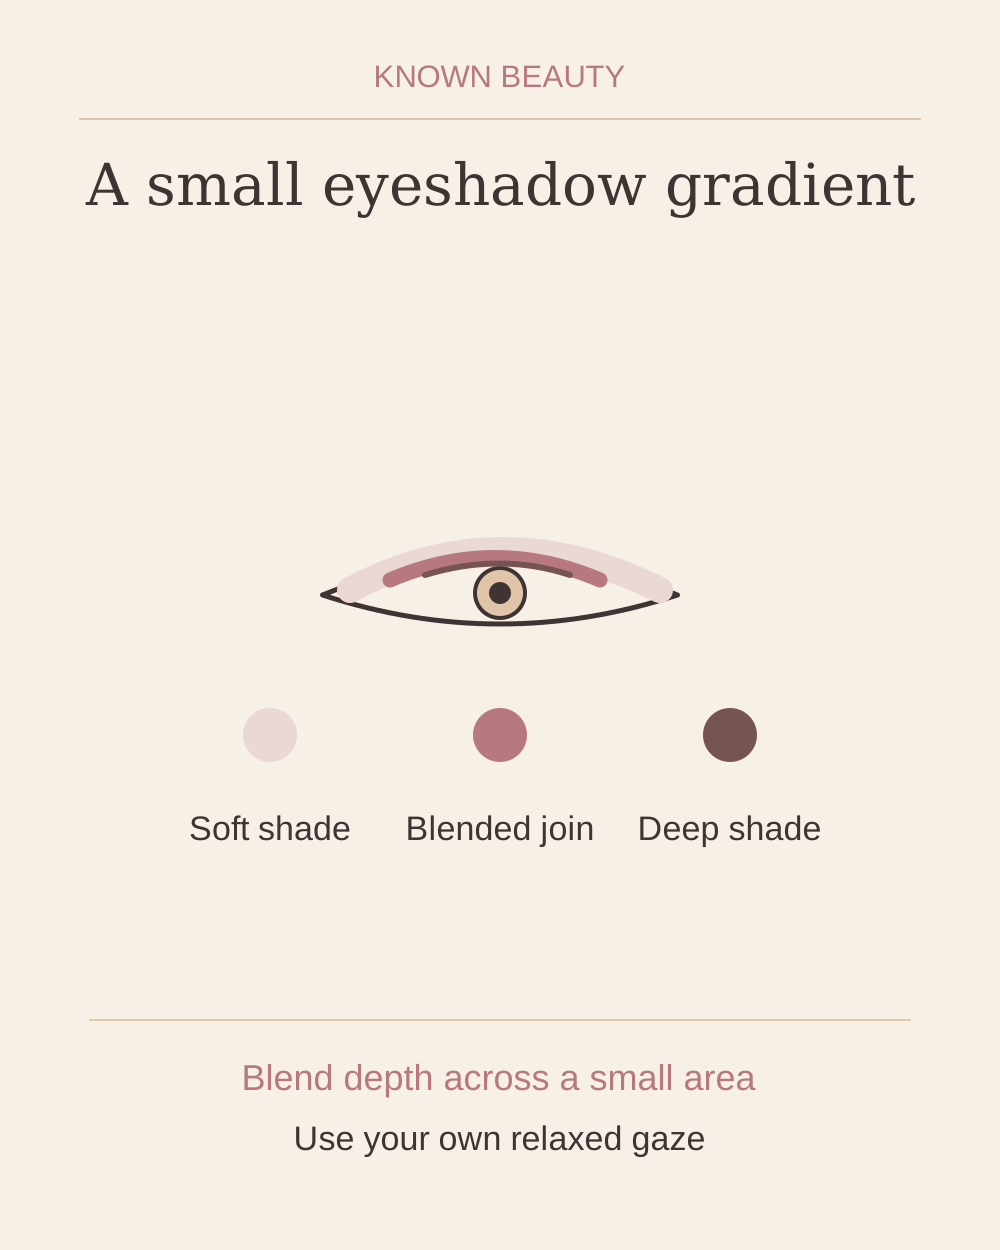
A monolid describes a lid without a clearly visible crease; it does not tell you exactly how much skin will show when you look ahead. That is why a gradient can be a useful starting exercise. Instead of drawing a crease that may disappear, arrange two colours from the upper lashes towards the area you can actually see. The learning goal is a smooth change in depth, rather than a complete occasion look.
Choose colours by contrast
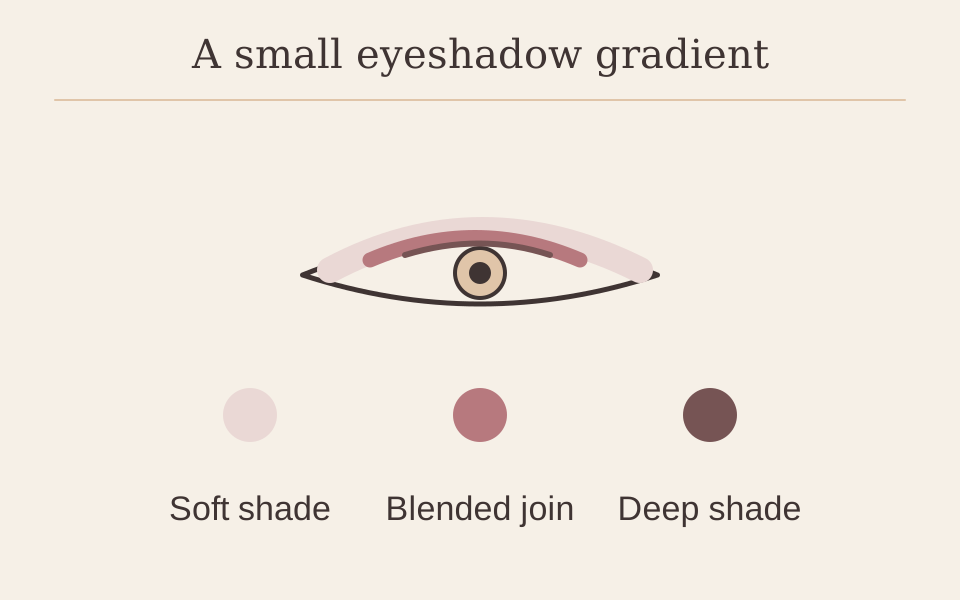
Pick one shade you can see against your skin and a second, deeper shade in a related colour family. Taupe and brown are one option, but plum, olive or bronze can work as a colour idea too. The useful difference is between the depths, not a prescribed shade name. If the lighter colour looks chalky on you, choose a richer middle shade instead of adding more layers. Use products labelled for the eye area and clean tools.
Build one small gradient
- Find the visible boundary. Look straight ahead with your face relaxed. Decide where you want a trace of colour to remain visible. This is the outside boundary to work towards, not a line you need to draw. Avoid lifting your brow to create extra space while judging it.
- Start with the softer shade. Load a little colour onto the flat brush and press a thin layer onto the external lid. Begin near the lashes and work towards the chosen boundary. Keep the outermost edge light; you can expand a small shape later more easily than remove a large one.
- Add depth close to the lashes. Using the tip of the flat brush, place the deeper shade in a narrow band above the upper lash line. You are drawing on external skin, not inside the lid. Keep the deepest area narrower than the softer colour so there is still room for the gradient to show.
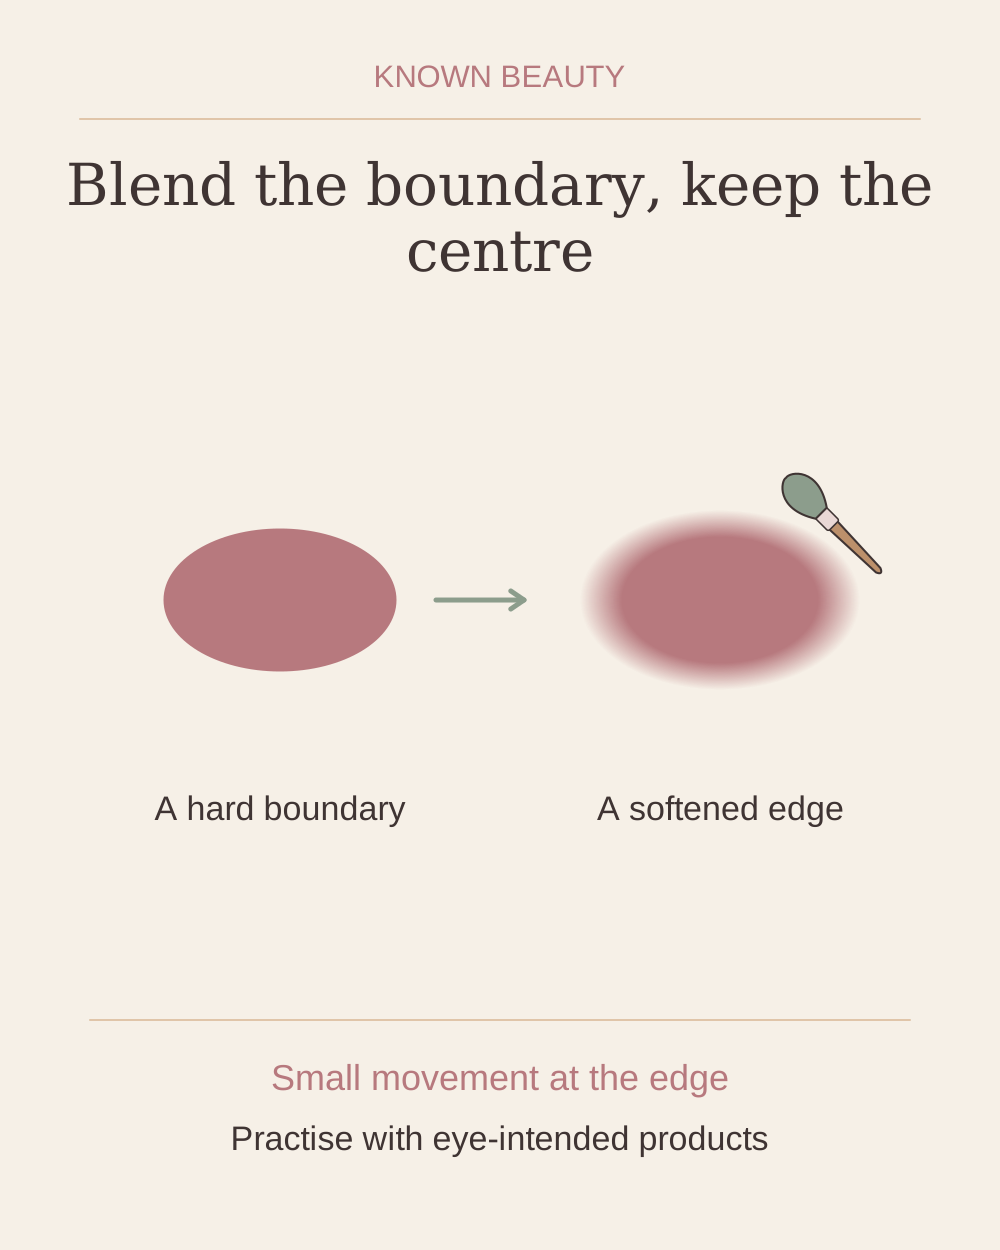
- Join the two areas. Use a clean blending brush at the boundary between the colours. Make a few short, light movements along that join. Blend the meeting point rather than sweeping both shades across the whole lid, which can turn the gradient into one flat colour.
- Check the eye open again. Step back from the mirror and look ahead. If the whole gradient disappears, add a very small amount of the softer shade slightly above its current boundary. Recheck before repeating. Each eye can need a different adjustment.
- Stop before adding more colours. Compare the visible balance, then decide whether lashes or a short liner are wanted. Practising this two-shade arrangement first makes it easier to identify whether a later problem comes from placement, contrast or blending.
Choose your approach
A subtle everyday gradient
Keep both colours close in depth and make the darker band especially narrow. A gentle visible edge is enough.
A more graphic gradient
Choose a stronger depth difference and contain the outer boundary. Definition can come from contrast rather than a much larger shape.
Troubleshoot one variable at a time
| What you notice | Try this next |
|---|---|
| The result looks like one colour | Use less blending across the centre. Re-establish a small darker band near the lashes and leave a visible middle shade above it. |
| The shadow vanishes in a relaxed gaze | Recheck the upper boundary with eyes open. Move a little of the softer shade first rather than lifting the entire dark area. |
| The outer edge keeps growing | Work with a smaller brush carrying no fresh colour. Contain the next application before trying to blur its boundary. |
| The two sides look different when closed | Compare them open. Similar visible weight can matter more to this exercise than identical closed-eye drawings. |
Questions you might have
Do I need three shades?
No. Two give you a useful distinction between the darker lash area and the softer visible edge. A third shade is optional once you can control those two zones.
Can I use the same diagram as someone else?
Use it as an explanation of colour order, then choose the height in your own mirror. A fixed stencil cannot account for your relaxed lid shape.
For the shared open-eye check, read the hooded-eye placement guide. For the brush movement itself, practise blending a shadow edge separately, then return to the gradient.
Makeup placement and colour are personal choices; adjust the steps to suit you. Follow the directions on your own products.