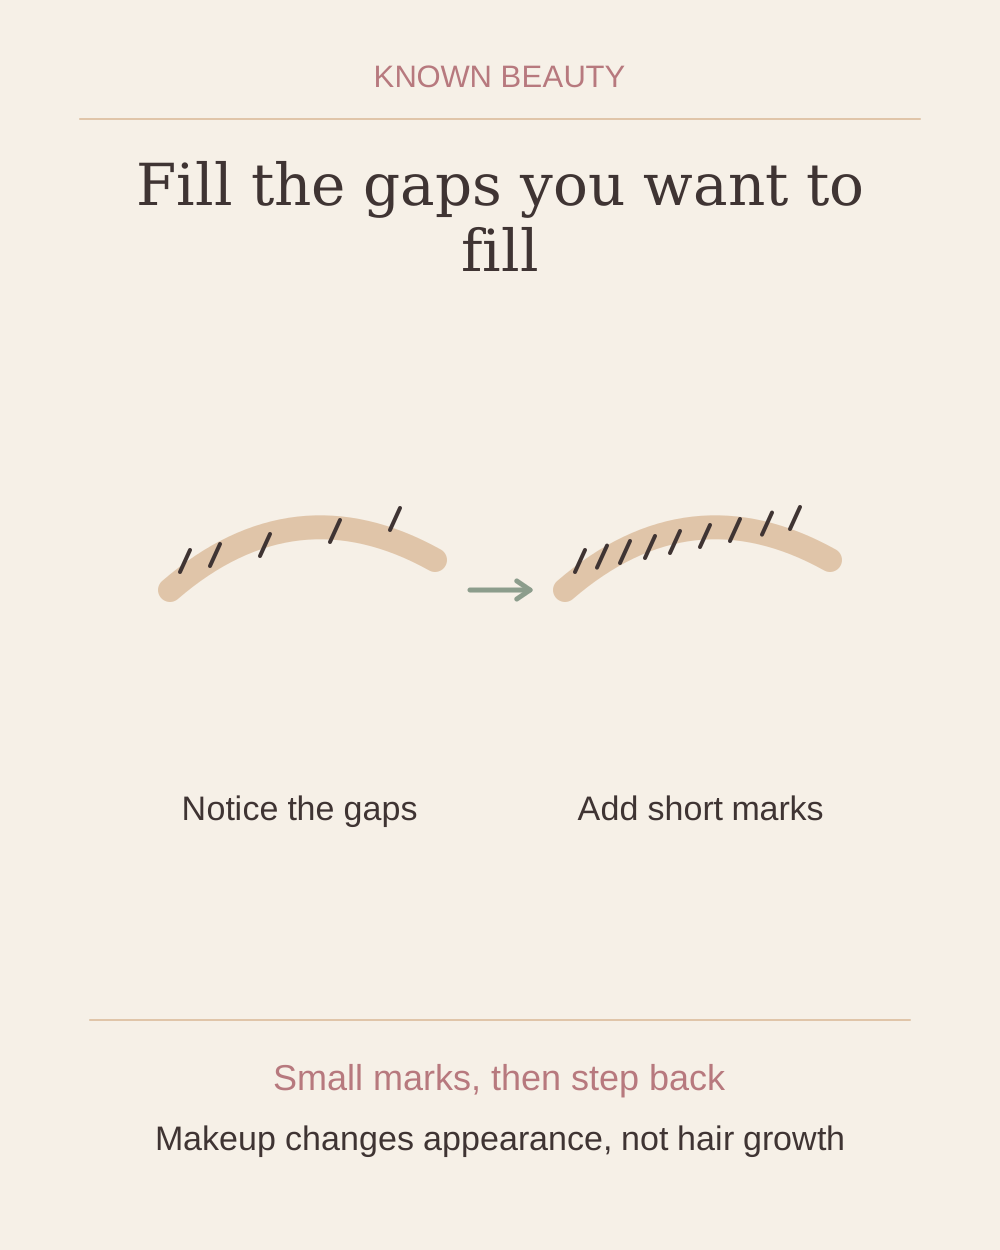
You can use brow makeup to make selected areas look more filled without drawing a completely new brow. Start with what is already there: the direction of the hairs, the outline you like and the places where you want a little more colour. Sparse-looking areas do not need to be corrected unless you want to change their appearance. This guide covers a temporary makeup effect and offers no explanation or treatment for hair loss.
Choose a manageable tool and colour
A fine pencil lets you make individual marks; a small angled brush with brow powder makes a softer patch of colour. Neither is automatically more natural. The result depends on how much you use, where it sits and how it contrasts with your colouring. Test a little product according to its directions and compare it beside your brow in useful light. If one pass looks much stronger than you wanted, use a lighter hand or a softer colour before buying several new products.
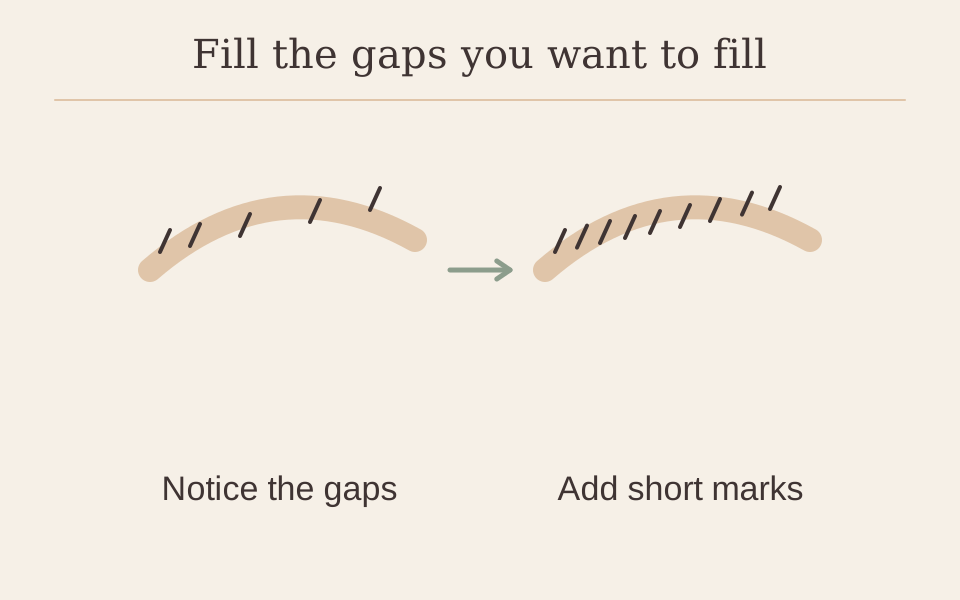
Build definition in sections
- Brush without changing the shape first. Use a clean spoolie to settle the hairs into the position you usually wear. Look straight ahead and identify one or two areas you want to fill. Leave decisions about a new outline for another session so you can judge this small change clearly.
- Start away from the front edge. Begin with a gap in the middle or outer section, where a small mark is easier to assess. Make a short, light pencil stroke or a small brush mark rather than drawing one continuous bottom border. Keep the product on external skin within the brow area.
- Follow the local direction. Observe how the nearby hairs run and angle your marks with them. The direction can change across a single brow. You are suggesting texture in a chosen space, not drawing a row of parallel lines regardless of the existing hairs.
- Soften before adding more. Pass the spoolie gently through the area if the product allows. This helps you assess how the colour sits among the hairs. If a mark is too strong, remove or soften that mark instead of making the rest of the brow equally dark.
- Keep the front deliberate. If you want colour at the inner end, use whatever remains on the tool or very light separate marks. A lighter front and a more defined outer section is one style option, not a compulsory pattern. Stop while you can still see the shape you began with.
- Step back and compare the impression. View both brows at an ordinary mirror distance. Add a small amount where the overall weight feels uneven, rather than redrawing one whole side. Optional brow gel can set a chosen hair direction when used as instructed; pencil alone can also finish the routine.
Choose your approach
You prefer a soft shaded brow
Use a little brow powder with a small brush and keep its boundary diffuse. Concentrate on the chosen gaps rather than making the outer border darker.
You prefer visible hair-like marks
Use a fine pencil in short separate strokes. Keep some untouched space between marks so the texture remains intentional.
Adjust the part that changed too much
| What you notice | Try this next |
|---|---|
| The whole brow looks blocky | Reduce the outline and the amount at the front next time. Soften one heavy section instead of drawing more texture on top of it. |
| The pencil marks look like stripes | Make them shorter and follow the direction of nearby hairs. Use less pressure and recheck at a normal viewing distance. |
| The tail is longer than you intended | Remove the extended section and decide its endpoint again. Extending the other brow is not the only way to restore balance. |
| The colour appears too warm or dark | Compare a different brow colour in similar light. More blending can reduce intensity, but it cannot reliably turn one colour into another. |
Questions you might have
Must both brows have the same arch?
No. Natural outlines and hair directions can differ. Aim for the visible balance you prefer instead of measuring a fixed ideal against your face.
Should I pluck hairs before practising this?
That is not required. Keeping the existing hairs in place lets you assess what a few temporary marks can do before making a separate grooming decision.
Will this encourage growth?
No growth claim is made. If you are concerned about a new or unexplained change in your brows, seek appropriate professional advice rather than treating it with a makeup pencil.
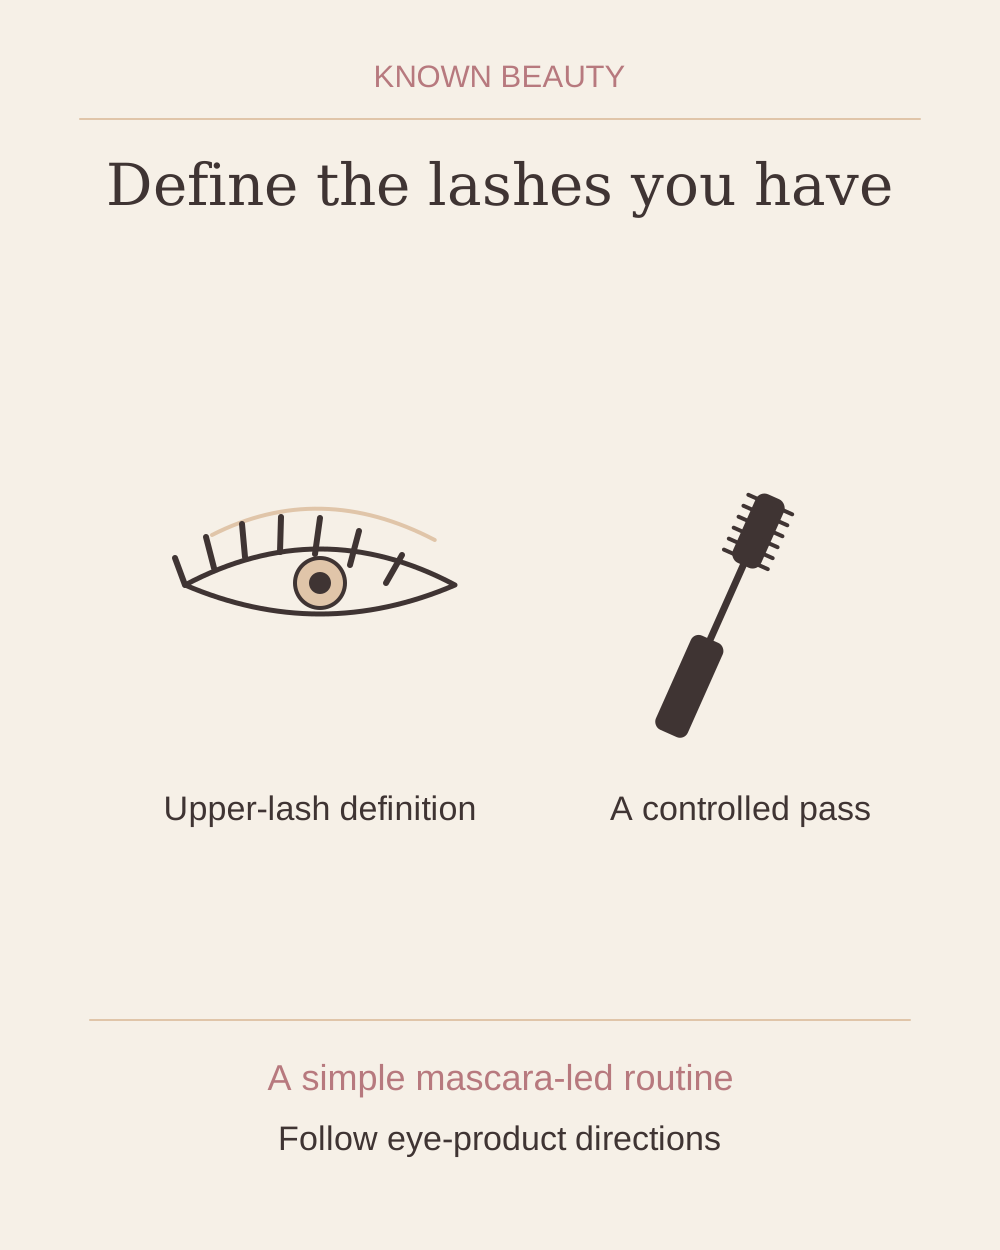
Pair this exercise with a simple everyday routine, or choose lash definition as the only other eye step. Use eye-area products only as labelled; a cosmetic pencil intended elsewhere is not an automatic substitute.
Makeup placement and colour are personal choices; adjust the steps to suit you. Follow the directions on your own products.