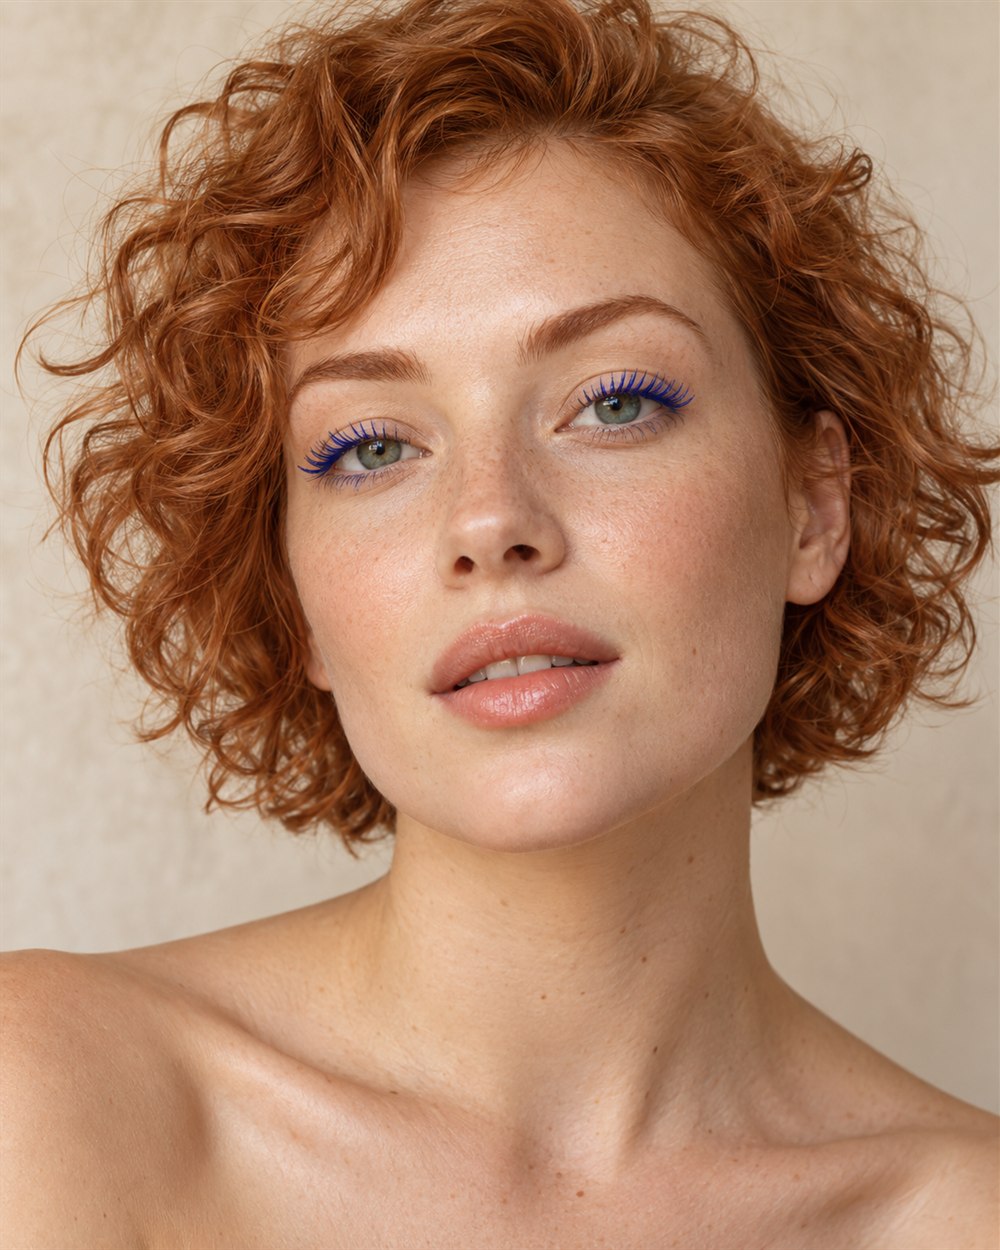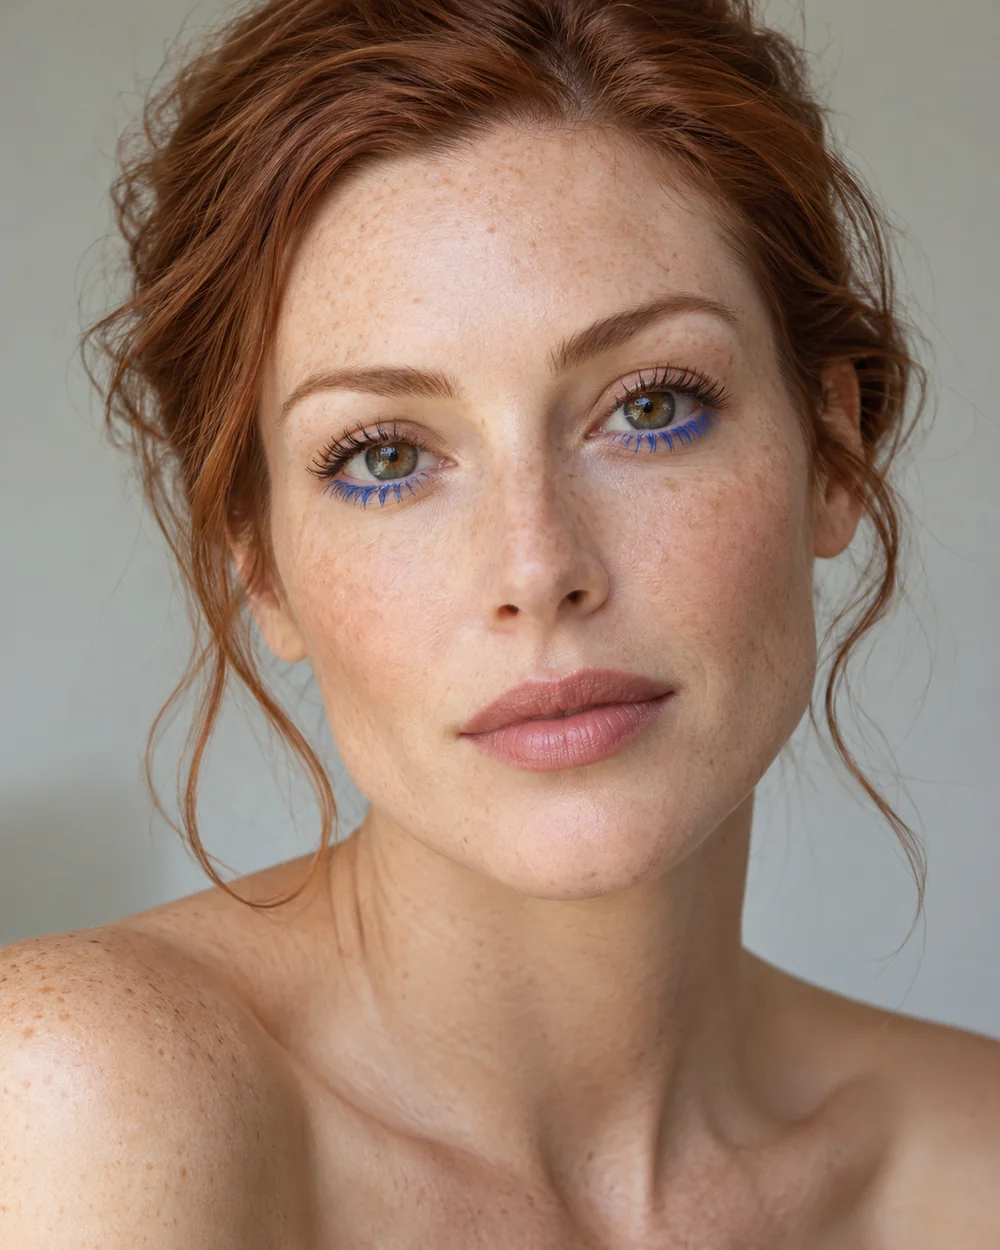
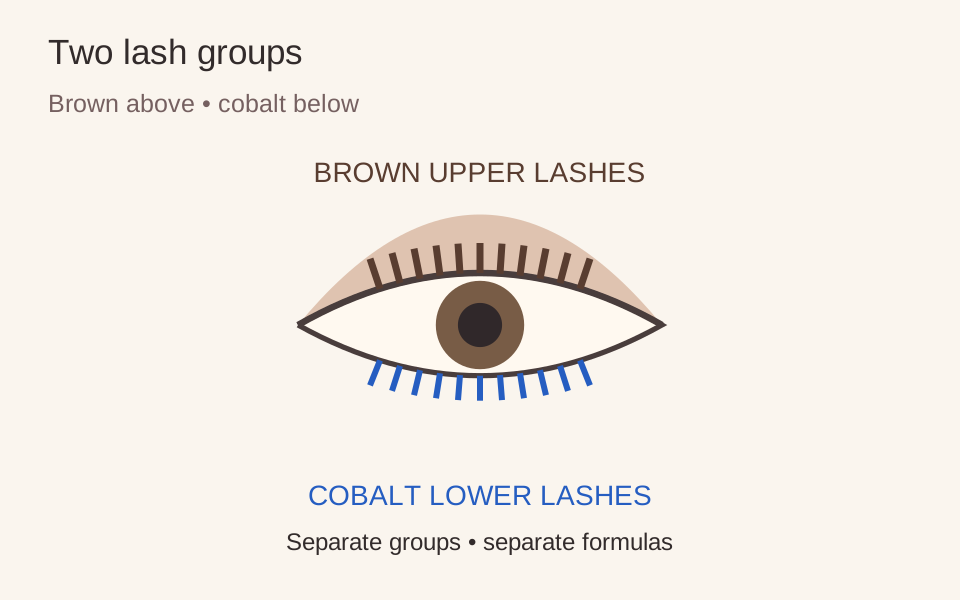
The goal is a deliberate difference between upper and lower lashes, not two colours blended into an uncertain third. Brown above and cobalt below makes the distinction easy to see. Black above and brown below is quieter. Use a pairing that gives you one clear contrast before experimenting with several colours at once.
In Who What Wear’s autumn 2026 interview, makeup artist Fara Homidi discusses two-toned lashes, including a black-upper and brown-lower version. The brown-and-blue arrangement on our fictional model is our own colour variation. It is not attributed to the artist or a celebrity.
Set up a short first round
Keep the lids fairly quiet so you can assess the lashes. Position a stable mirror and sit somewhere you can rest an elbow. Check that both mascaras are in good condition and within their own use period. Use their supplied applicators unless the manufacturer directs otherwise. Do not decant one formula into the other or share a wand between tubes.
Upper lashes: establish the anchor
Apply a familiar amount of brown or black to the upper lashes, following the product instructions. Let it settle before moving close to the lower lashes. Look straight ahead and decide whether you already have enough definition. The coloured lower lashes will add another visible detail, so the upper group does not have to be unusually thick.
If your upper lashes touch the lid, keep the application controlled and give it the settling time the formula needs. A smudge during application is a different problem from transfer that develops later; use the existing mascara-smudge guide to investigate that separately. This practice is not a reason to keep adding coats to compensate.
Lower lashes: use a smaller load
Remove excess product from the coloured wand as its design allows. Apply only to the lower lashes you can reach comfortably, keeping the wand away from the eye itself. A light touch may show more clearly than a heavy coat that joins several lashes together. You may prefer colour on just the outer lower lashes; keep the placement consistent enough to look chosen.
Do not pull down the lid to coat the waterline with mascara. If lower-lash application feels awkward, leave it out and wear one colour on the upper lashes instead. Two-tone is an optional experiment, not a test you need to pass.
Check one variable
Compare the result with the eyes open in ordinary light. If the blue seems barely visible, first check the lighting and the actual colour of the mascara before increasing the amount. If the lashes look crowded, restart the small lower section another day with less product. Do not add black over blue just to hide a mistake unless the manufacturers explicitly allow that layering.
FDA guidance advises keeping eye-cosmetic tools clean and not adding water or saliva to mascara. Follow each formula’s removal instructions, which may differ. Your stopping point is two readable lash groups that feel comfortable; the lid and lip can stay as simple as you like.
Makeup placement and colour are personal choices; adjust the steps to suit you. Follow the directions on your own products.