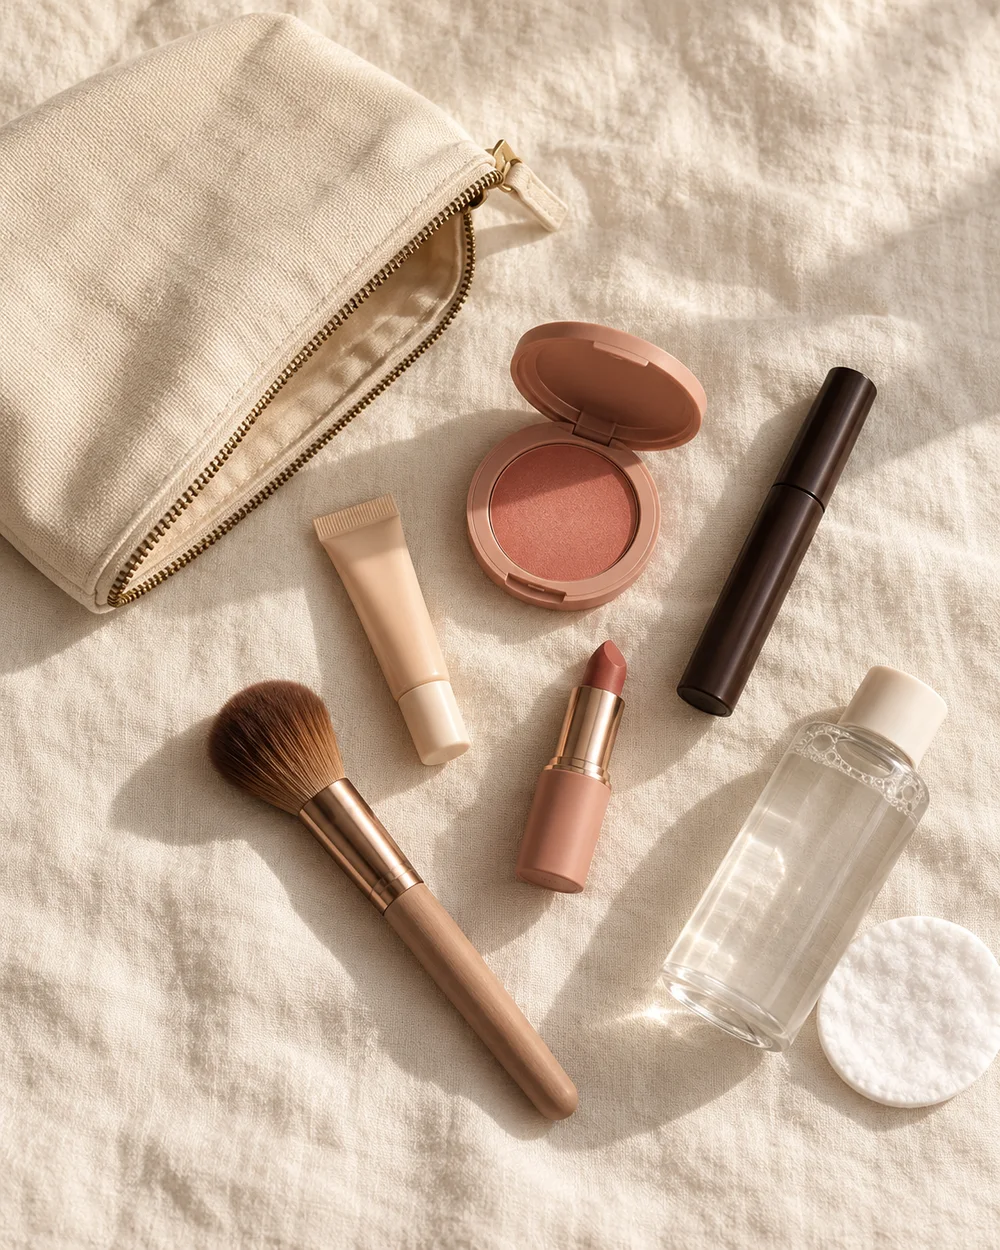
A useful workday look is easy to repeat and simple to refresh. This version combines light coverage, soft upper-lash definition and a manageable lip colour. Choose discreet or expressive colours to suit your preference; the routine stays the same.
Decide what needs your attention
Look at your face in even light and choose two priorities. Perhaps you want a little coverage around the nose and a deeper lash line; perhaps you prefer blush and a clear lip colour. Put those products at the front of the kit. Leave optional extras behind them, so a short morning still produces a complete version instead of half of a longer routine.
Choose a foundation or concealer you already know, a cheek shade you enjoy and one neutral eye colour. Neutral is relative to your colouring: beige, taupe, chestnut or deep brown can each play that role. Read product directions and use eye products intended for the eye area.
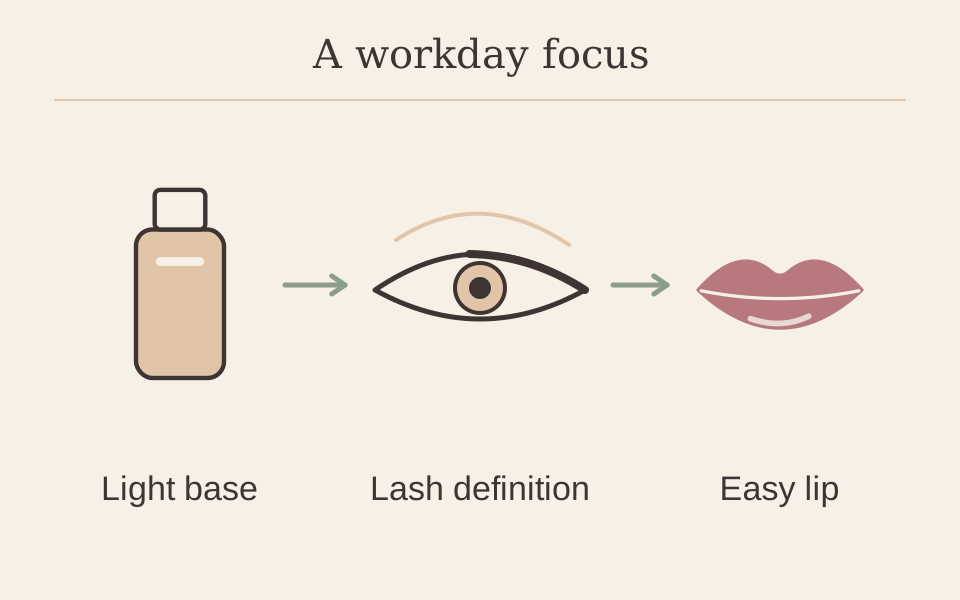
Build the look in six small steps
- Use coverage selectively. Begin with a small amount around the areas you chose. Blend outward until you cannot see a distinct border. Check the jaw before deciding whether the rest of the face needs anything; an even finish does not require identical coverage everywhere.
- Place the cheek colour. Add a little blush to one cheek, blend its boundary, then repeat on the other side. Check from a conversational distance. If you want more colour, build another thin pass where the first layer is already sitting.
- Give the eye a simple shape. Sweep a small amount of one eye-safe shadow across the visible lid or outer area you want to emphasise. Keep the first application contained and use a clean brush to soften only the edge. There is no requirement to create a crease.
- Define the upper lashes. Draw short marks close to the external upper lash line with your familiar pencil, then connect them. Stop at the outer corner if a wing adds more work than you want. A little depth here can be enough without another shadow.
- Choose lashes or brows. Apply mascara as directed, or use your usual brow makeup to fill a few gaps. Both are optional. If time is limited, choose the step that changes the look most for you rather than rushing through both.
- Finish with a manageable lip. Apply your chosen lip colour and check the corners with your mouth relaxed. Step back from the mirror, look for any unblended base edges and stop. Put that lip product in the bag you are taking with you.
Choose your approach
A quieter version
Skip the shadow and keep the pencil to the outer upper lashes. Use a sheer lip colour with the same cheek shade.
More colour, same routine
Choose a stronger lip and leave the eye at a single neutral shade. Keep the number of steps the same while changing the emphasis.
If the result is not what you wanted
| What you notice | Try this |
|---|---|
| The face looks heavier than intended | Next time reduce coverage before changing its shade or adding another product. For today, soften the outer edges with a clean tool and leave other layers alone. |
| The eye looks unfinished without a wing | Try a little more depth at the outer upper lashes, keeping the line short. You can create definition without extending the shape. |
| Touch-ups keep growing into a full routine | Carry only the product you genuinely refresh, plus a suitable small mirror. Make a note of any recurring base issue to address during tomorrow’s application. |
Questions you might have
Do I need to powder the whole face?
No. If you use powder, start only where you prefer less shine and check the result before applying elsewhere. Product instructions still take priority.
How can I shorten this to five minutes?
Keep your two priorities and use the five-minute everyday sequence. A completed smaller routine is easier to repeat than an unfinished long one.
After a few mornings, write the successful order on a note beside your kit. That gives you a personal workday recipe to repeat, with room for different lipstick colours when you feel like a change.
For a smaller starting kit, use the beginner kit planner to choose one product per job.
Makeup placement and colour are personal choices; adjust the steps to suit you. Follow the directions on your own products.