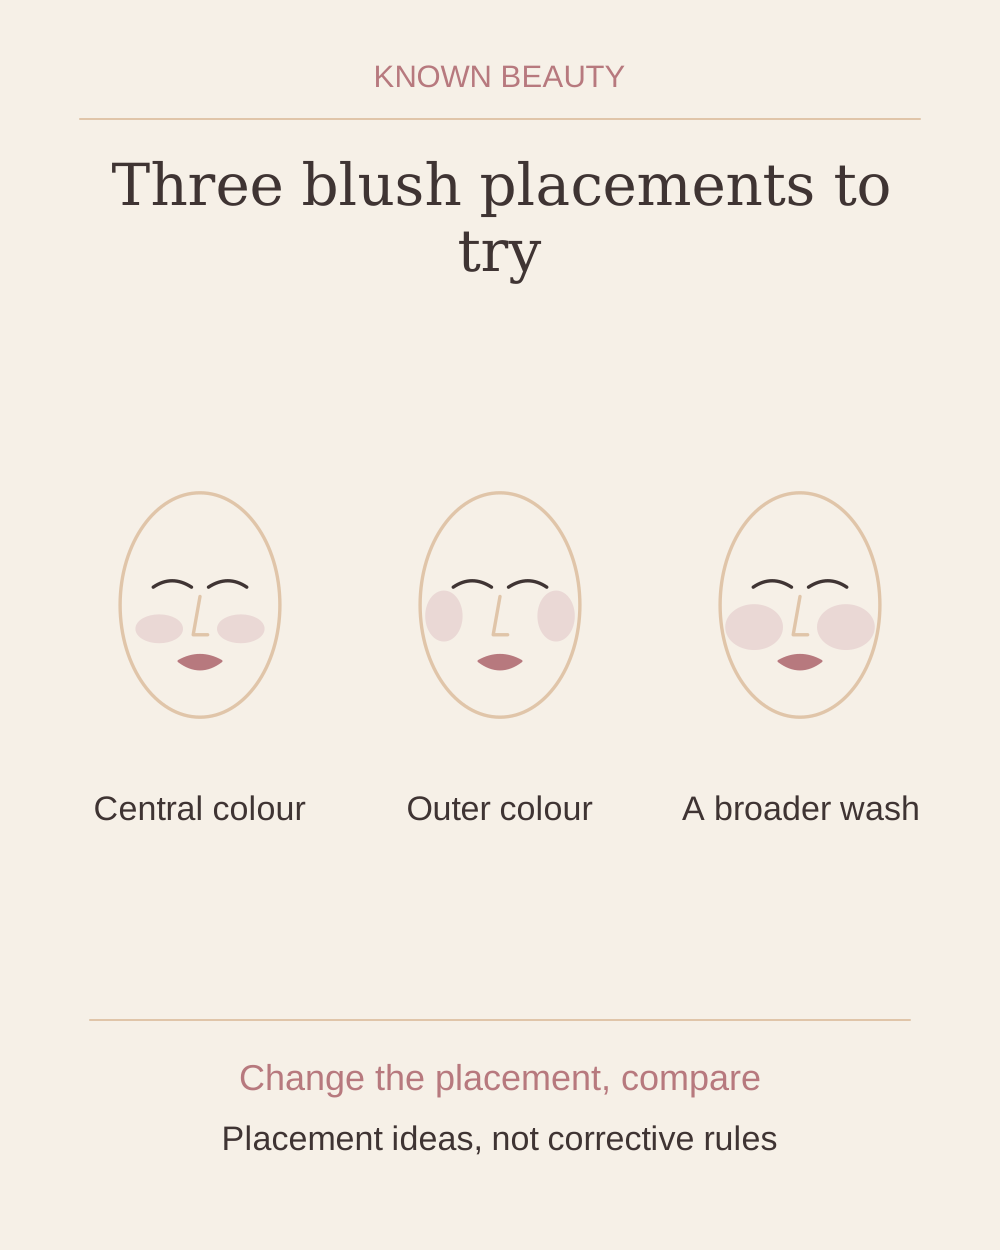
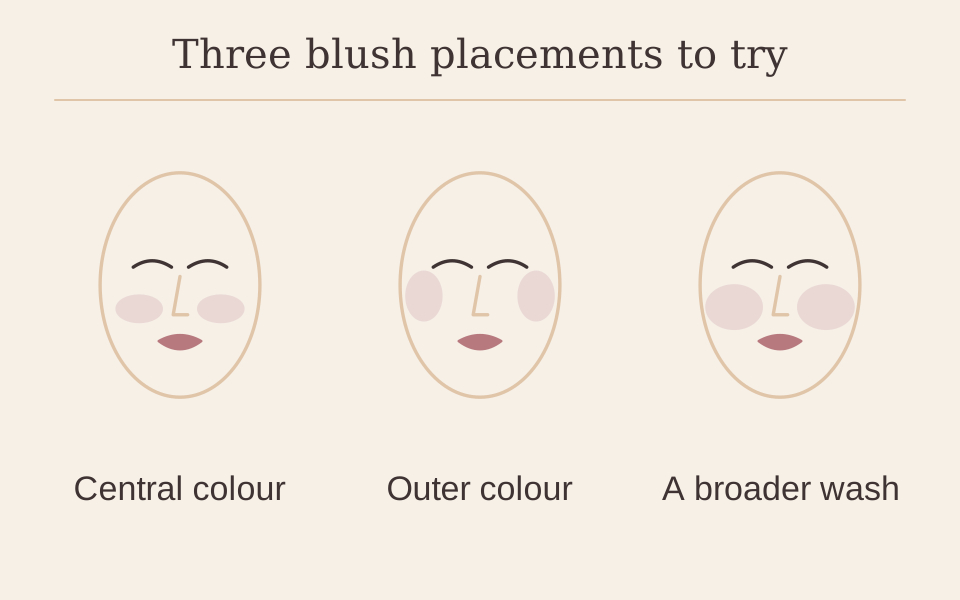
Blush can make a look feel different even when the product stays the same. A compact patch, a more outward band and a wider wash each arrange colour differently. None is the correct placement for a particular face shape. This guide gives you three controlled experiments so you can describe what you like and repeat it, without needing to change the whole makeup routine.
Keep one variable in focus
Use a familiar blush and a tool you can control. Keep the rest of the face simple enough that you can see the cheek shape clearly. Try the options on separate occasions rather than putting several different designs on the same cheek. A placement map can suggest an area to consider; it cannot prescribe a fixed distance from your nose or eye for every face.
Three arrangements to compare
| Option | Starting idea | Keep an eye on |
|---|---|---|
| Compact centre | Concentrate a small patch on the cheek area you want to emphasise. | Keep the boundary soft without spreading the patch much farther than planned. |
| Higher outer band | Arrange a narrow area of colour towards the outer cheek, at the height you enjoy. | Check the edge nearest the eye and leave space where you want it. |
| Wider soft wash | Use less intensity over a larger cheek area. | Blend the perimeter deliberately rather than gradually colouring every neighbouring area. |
Practise one placement
- Choose the centre of the colour. Look straight ahead with your face relaxed and decide where the first small amount belongs for this version. Make the starting area smaller than the finished shape. If you normally smile to apply, also check with your face at rest before committing to more colour. Use that relaxed view as your comparison reference.
- Place a light first amount. Follow the formula’s directions with an appropriate clean tool. Work on one cheek, then repeat a similar starting amount on the other. Do not try to finish the whole shape in one loaded sweep. A controlled first patch leaves room to choose whether the next adjustment should change intensity or the area covered.
- Blend the boundary, not the entire face. With light pressure, soften the outer edge in the direction you chose. Use a clean tool if you want to move the boundary without adding pigment. Stop at the edge of your planned area and inspect. A higher outer band, for example, does not need to travel right to the hairline.
- Separate size from intensity. If the shape is right but too subtle, add a little product inside it. If the intensity is right but the patch is smaller than you intended, carefully extend its boundary. Those are different decisions. Pause between them so you do not turn a modest change in colour depth into a much larger placement.
- Compare the whole look. Step back to normal viewing distance and check both sides in even light. Look at the connection with your lip colour and eye makeup. Choose whether that balance feels right before adding more blush. Record the version in a short phrase so you can recreate its arrangement, rather than relying on memory alone.
When the shape moves beyond the plan
| Observation | Check | Adjustment |
|---|---|---|
| The patch keeps widening | Are you blending with fresh colour each time? | Use a clean tool at the boundary and stop loading more blush. |
| One side looks higher | Compare with head level and face relaxed. | Adjust the short edge responsible instead of extending both entire shapes. |
| Colour is too strong | Distinguish intensity from size. | Soften or remove excess locally; spreading it wider may not match your aim. |
Questions you might have
Which option lifts my face?
These arrangements change the makeup design, not your anatomy. Try the higher outer option if you enjoy that direction, without treating another placement as a mistake.
Must blush avoid the centre of the face?
No universal placement ban is needed here. Choose the area and boundary you like, keeping the product within its permitted use.
Can I make the cheeks the statement?
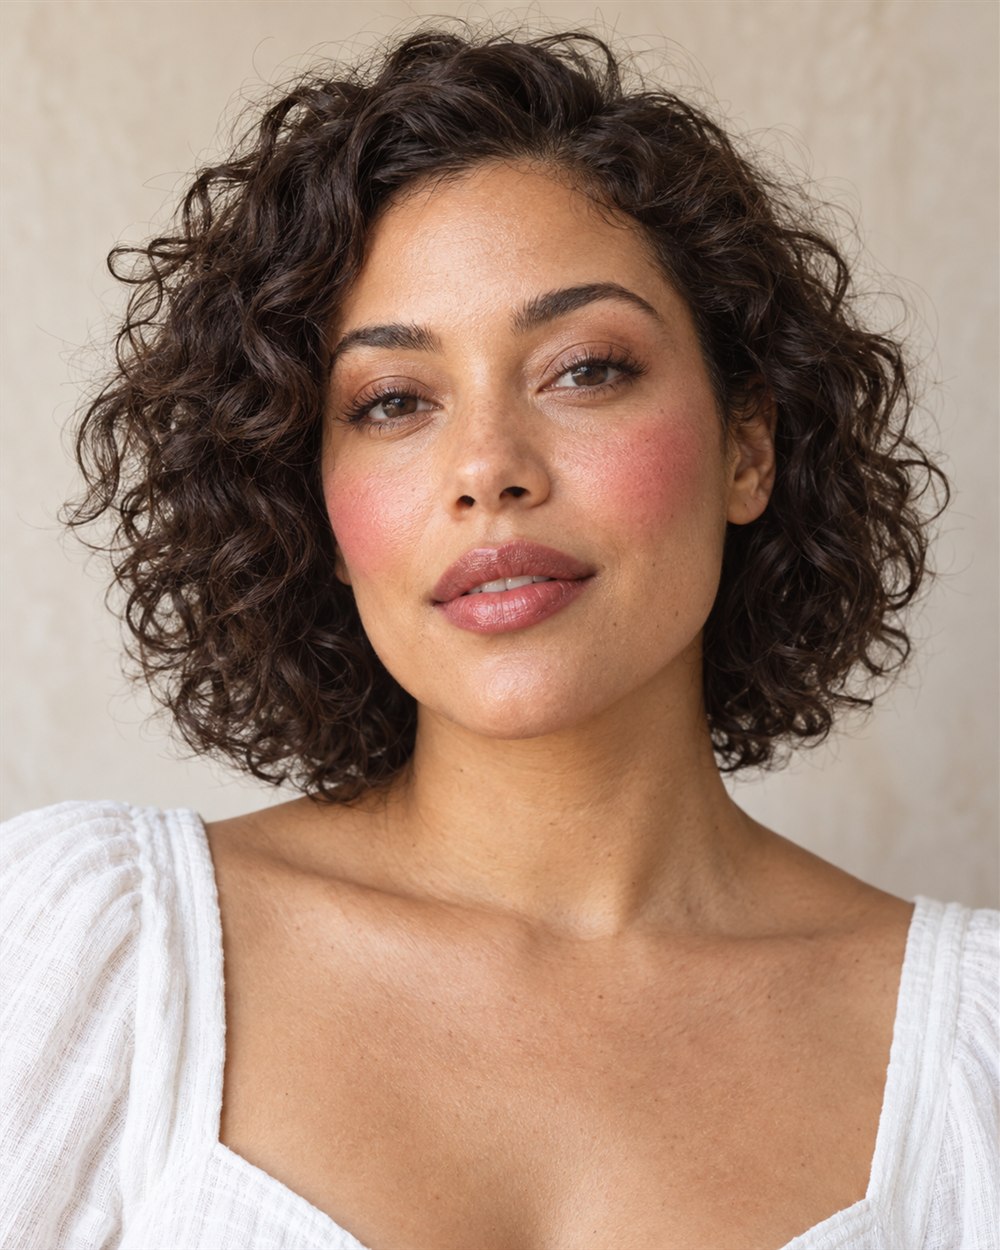
Yes. The rosy-cheek look develops a cheek-led routine with a related lip and simple eye.
Makeup placement and colour are personal choices; adjust the steps to suit you. Follow the directions on your own products.