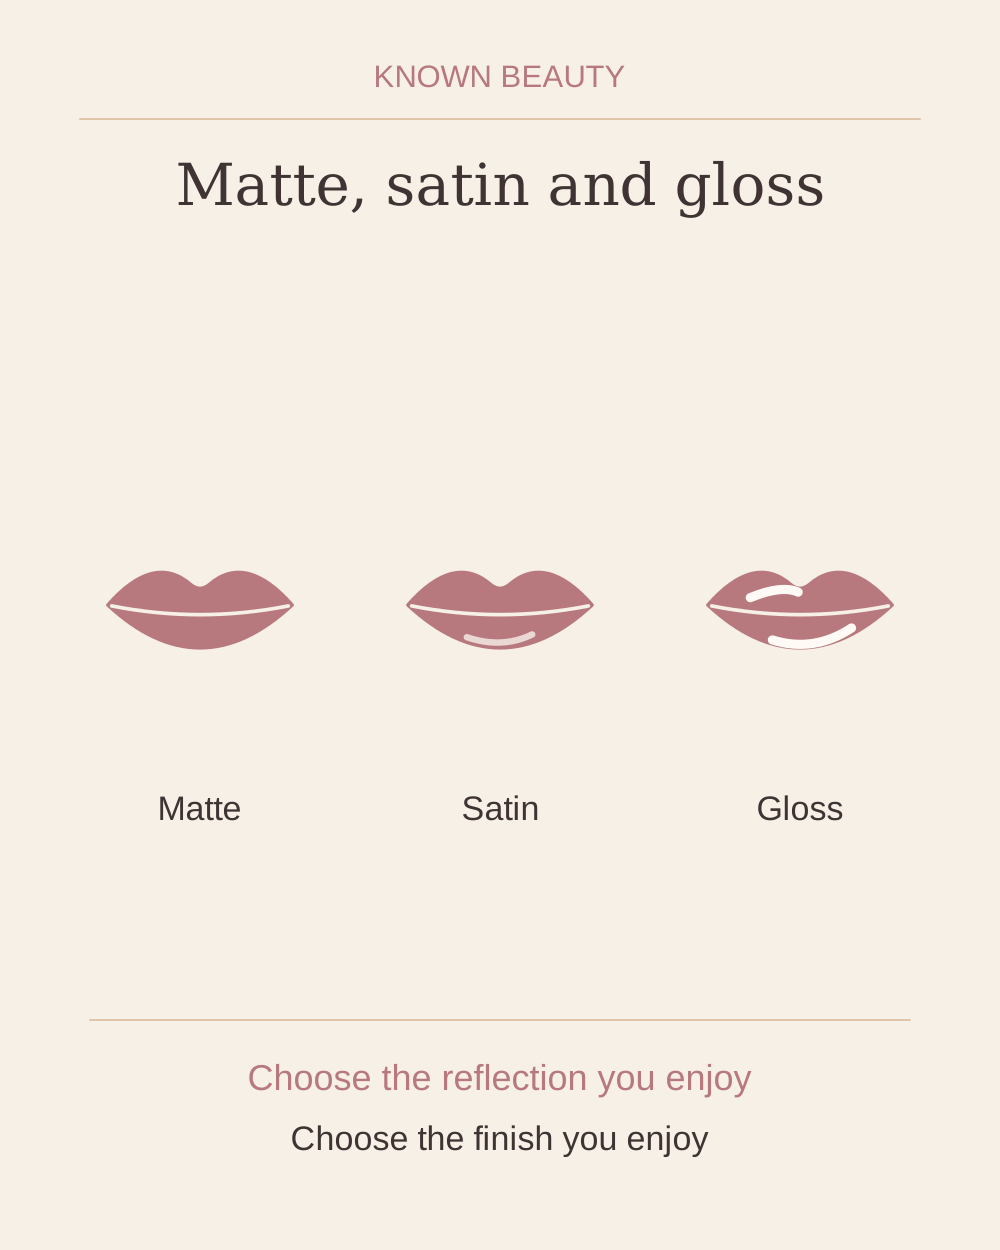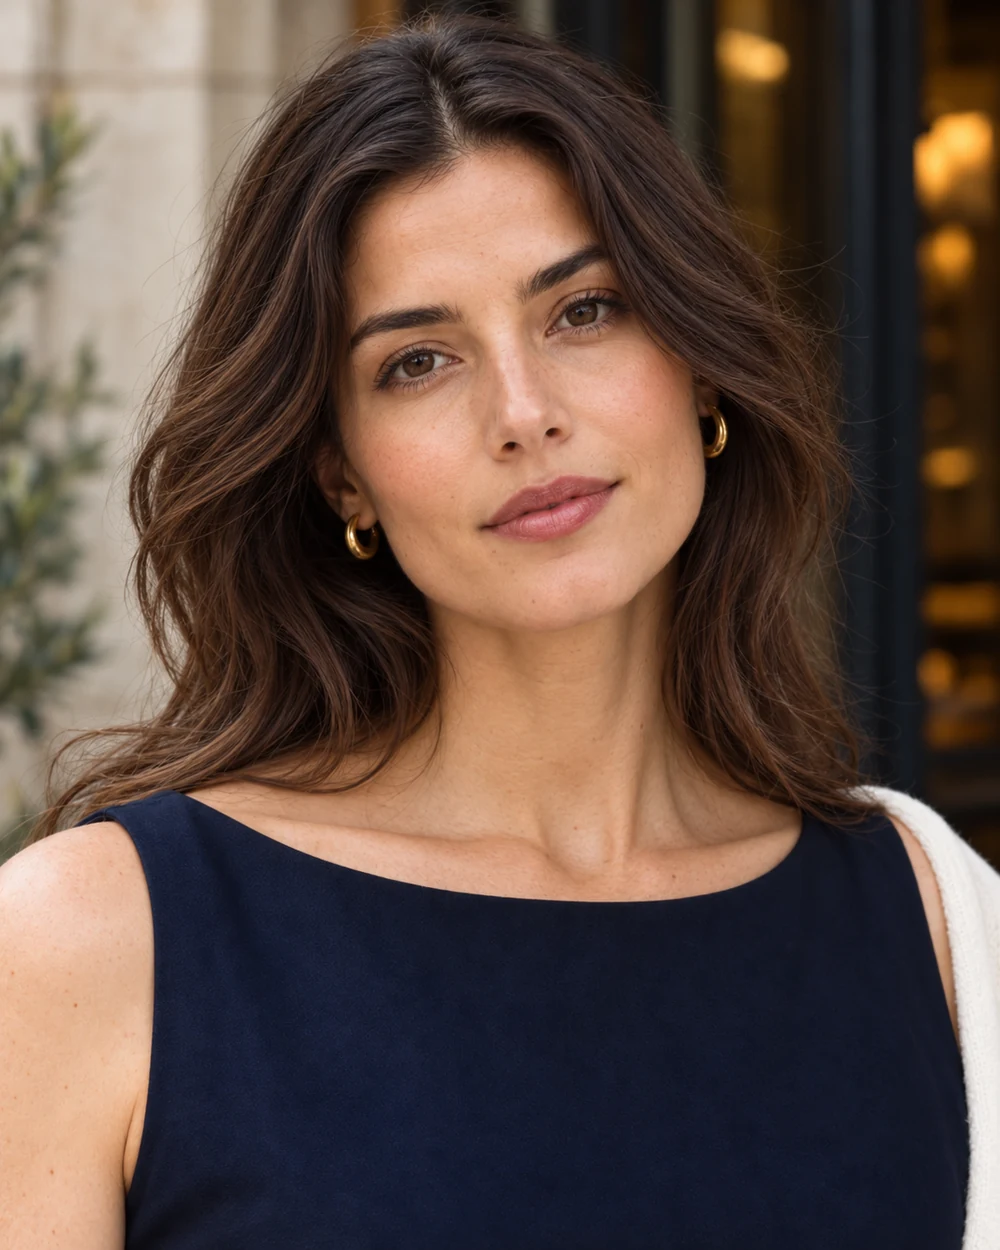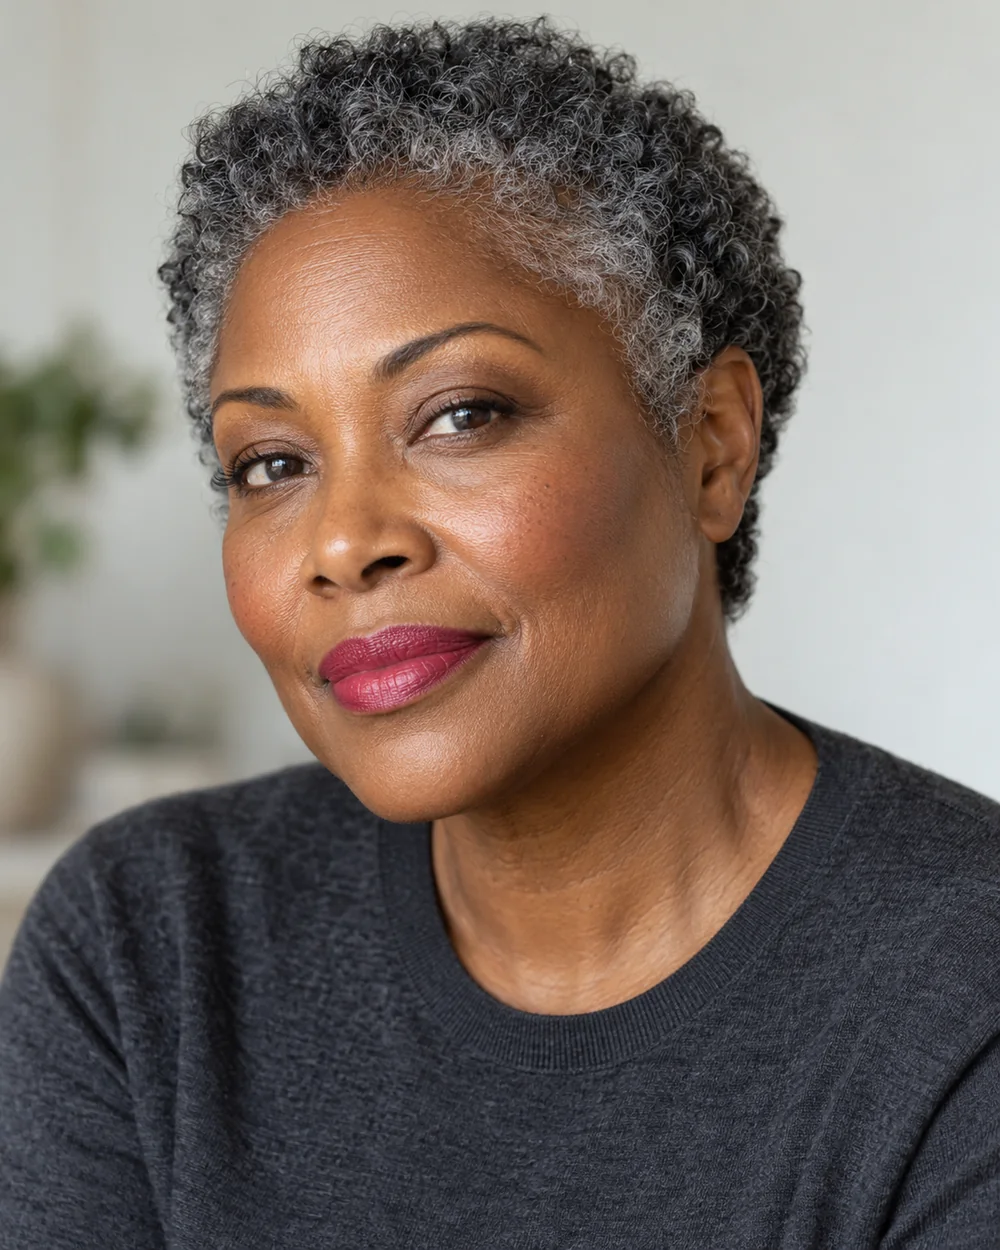
A blurred lip has an edge you can find, but no sharp drawn border. The useful skill is controlling where the colour stops. The raspberry example on our fictional adult model keeps a recognisable outline; you can make the centre stronger or leave the colour almost even. This session is about the perimeter, so begin with a lipstick you already know rather than a new formula that sets before you can move it.
Pinterest’s 6 October 2026 report includes blurred lips. Use the idea as a colour option rather than a rule for your makeup.
Set one practice goal
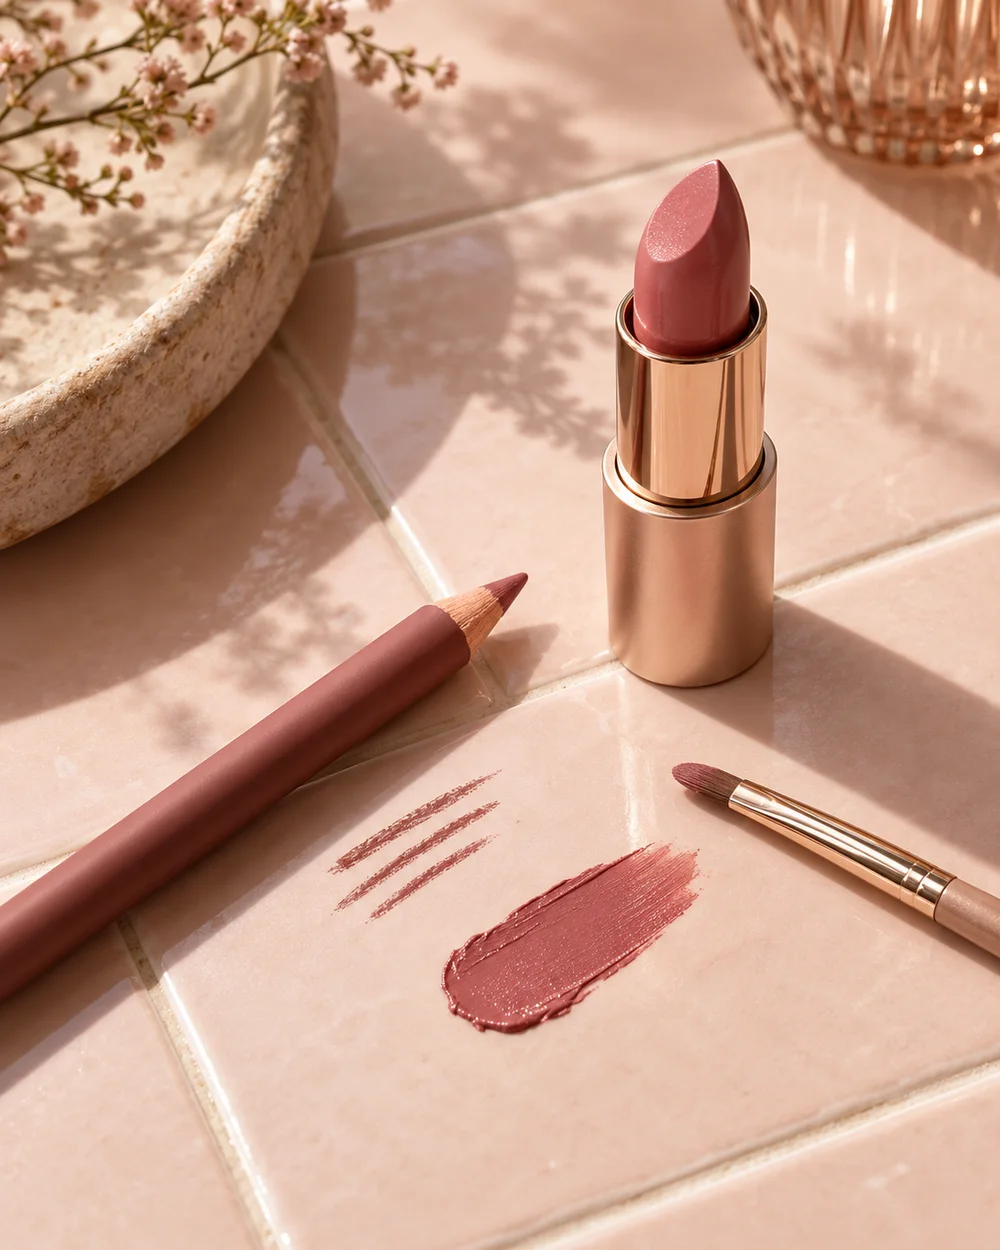
Choose a rose, berry or brown that is easy to see against your lip colour. Put the mirror where you can sit comfortably and rest your working elbow. Begin with clean hands and your usual comfortable lip preparation; remove excess slippery balm if it makes the lipstick travel. Leave liner out of the first round. It can be added later, but a drawn border would make the first result harder to judge.

Round one: keep the shape small
Touch a little lipstick onto the middle area of each lip. Use the brush to spread it towards, but initially short of, the outer edge. Close and relax your mouth between checks. Do not stretch it into a broad smile while drawing the corners: that changes the surface you are judging. Fill the colour only as far as you can comfortably control.
Now wipe the brush on a tissue so it holds very little colour. With short touches, soften the last narrow strip of lipstick towards the natural outline. Work in separate sections rather than sweeping around the whole mouth. The brush should redistribute the existing colour, not paint a second thick ring.
Round two: choose what remains stronger
Step back. If you want a centre-focused fade, add a small touch to the middle and blend only its immediate boundary. If you prefer an almost even lip, leave the centre alone and refine the perimeter. Both can have a soft edge. On lips with more than one natural tone, compare the finished balance rather than trying to erase that variation underneath concealer.
For a defined Cupid’s bow, soften the colour just inside its peaks. For a rounder visual effect, keep the peaks less sharply marked without drawing beyond them. These are choices about the edge you enjoy, not rules attached to age or lip size.
Change one thing next time
If the result looks like a wide stain outside the mouth, reset that section with suitable remover, follow its reapplication directions and start with less colour. If the lip looks patchy, try a more movable satin formula before adding more layers. If the centre rubs away during a meal, replace that missing colour first; repeatedly redrawing the outside can make a once-soft edge progressively wider.
A useful success check is simple: the colour is visible, the perimeter remains within your chosen outline, and you like it from conversational distance. Keep that version before attempting a deeper shade or adding liner.
Makeup placement and colour are personal choices; adjust the steps to suit you. Follow the directions on your own products.