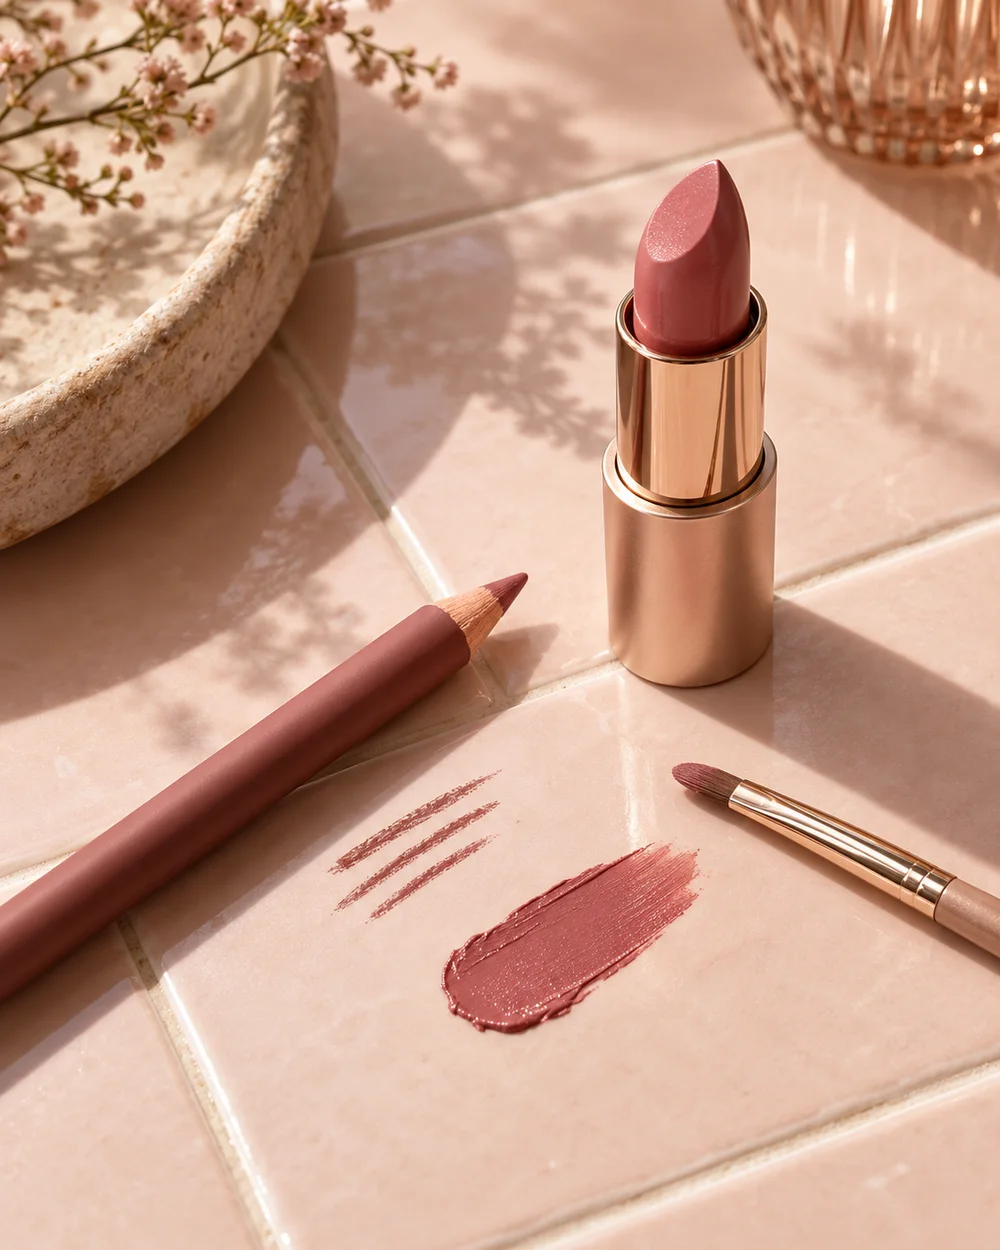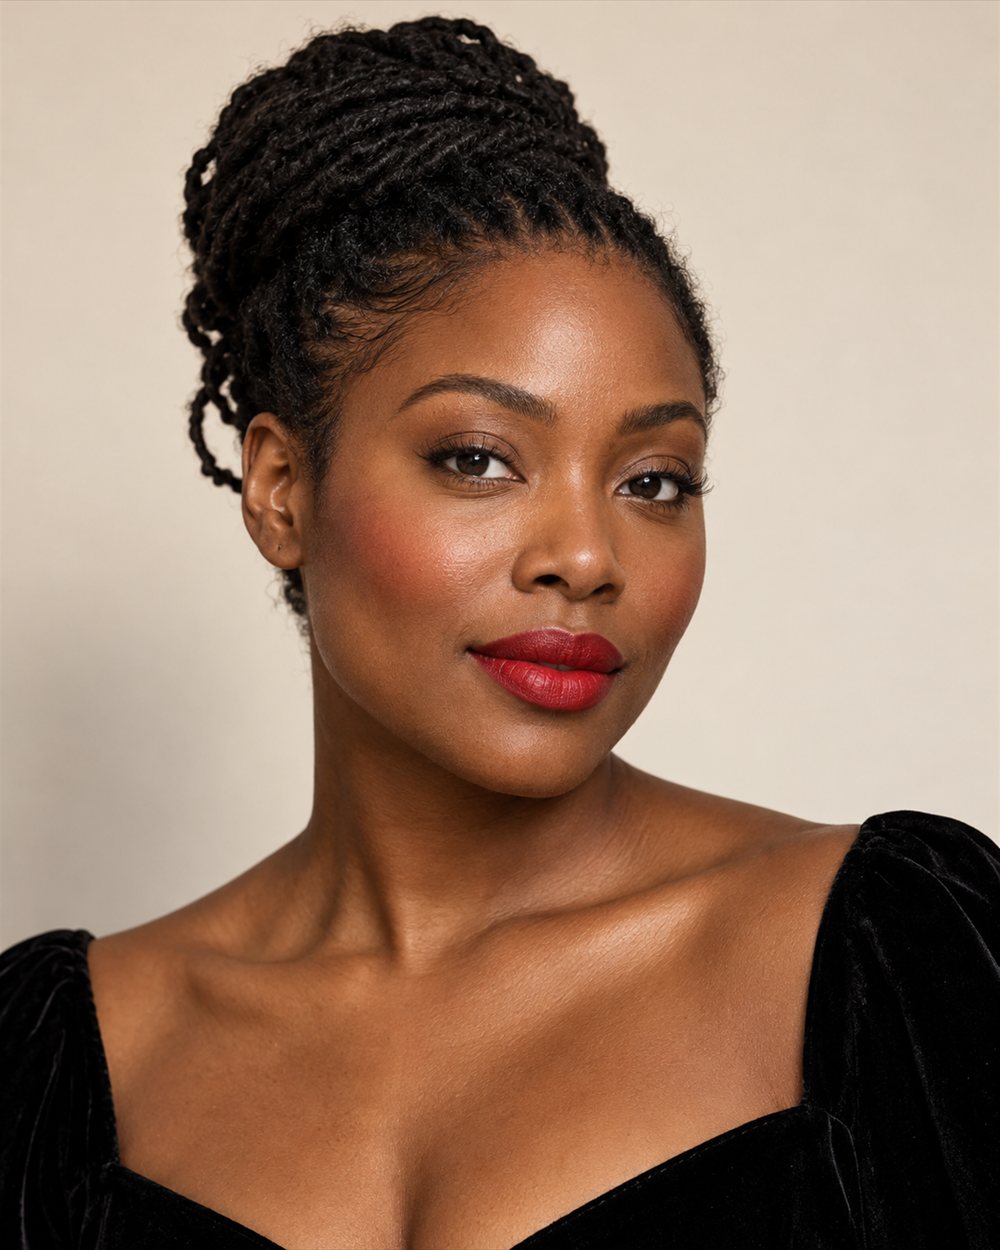
A red lip can make a simple face feel ready for an occasion. The useful choice is not which red everyone should wear, but which depth, colour direction and finish you enjoy. A sheer brick, glossy cherry and opaque blue-red all tell different stories. This routine gives the lip most of the attention and leaves room to stop before the eye becomes another project.
Before you start
Try the colour you intend to wear with the rest of your face visible, rather than judging it only from the tube. A deeper red can look quite different once spread in a thin layer. If the event matters to you, rehearse the application and removal with the actual formula in advance. Preparation and your usual skincare sit outside this fifteen-minute plan.
Build the look
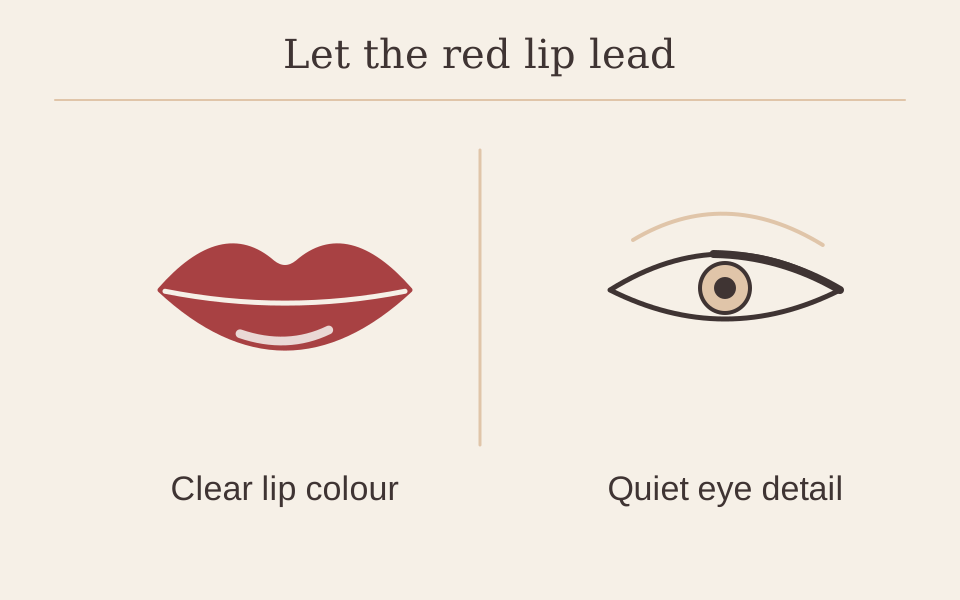
- Set the face up quietly. Apply your usual coverage only where wanted and blend its boundaries around the mouth. Avoid building a thick ring of concealer around the lips: it adds another texture to maintain. Put on a small amount of blush, then save any extra cheek colour until the red lip is in place.
- Choose a simple eye. Use familiar mascara, a narrow brown liner or a light neutral shadow. Pick the part you can apply confidently. Keep products intended for the lips away from the eyes, even when their colours seem useful. There is no need to draw a wing just because the occasion feels dressy.
- Map the lip in short sections. With your mouth relaxed, mark the centre of the upper and lower visible lip boundary using your lip colour or a compatible liner. Join the short sections towards the corners. Check both sides in the mirror between strokes rather than attempting one continuous outline while stretching your mouth.
- Build an even red layer. Apply a small amount, then spread it across the centre and into the outlined sections. A clean lip brush can help at the corners if you like using one. Follow the formula’s application directions, particularly if it sets; repeated passes through a drying layer may change its appearance.
- Check the balance and pack the refresh. Step back from the mirror. Add a little more cheek colour or lash definition only if you want it now. Check for colour at the lip corners and on the teeth. Close the product properly, then put it and a small mirror in your bag so the planned touch-up is practical.
Choose your approach
A blurred red
Apply a lighter layer and soften its outer boundary inward with a clean lip brush. Keep the shape within your visible lips.
A crisp red
Use the liner to join small sections, then fill inside that boundary. Keep a clean tool ready for correcting one area rather than widening the whole outline.
If the look is not going to plan
| What you notice | What to check | A useful adjustment |
|---|---|---|
| One side looks wider | The outline was extended to chase symmetry. | Remove the small area you dislike with a suitable remover and redraw it; avoid enlarging the other side. |
| Colour looks patchy | The first layer is uneven or has been disturbed. | Check the product directions; remove loose residue and refresh a thin layer instead of stacking colour blindly. |
| The whole face feels busier than planned | Eye, cheek and lip all have strong contrast. | Keep the lip and simplify one other area next time. There is no rule requiring every feature to match its intensity. |
Questions you might have
Must blush match the red?
No. Relate the colours by the mood you like: a quiet rose or muted warm cheek can sit beside many reds. Check the combination on your face before adding more.
Is matte the only festive option?
No. Satin, gloss and sheer textures can all work. Choose by your preferred appearance and how you want to refresh it; this guide makes no wear-time ranking.
Can I use liner alone?
If its label permits application across the lips and you enjoy that finish, yes. Follow its directions and use a suitable lip product rather than repurposing an eye pencil.
Keep practising
Practise the edge with lip liner for beginners, or choose a quieter variation with the softly defined berry lip.
Makeup placement and colour are personal choices; adjust the steps to suit you. Follow the directions on your own products.