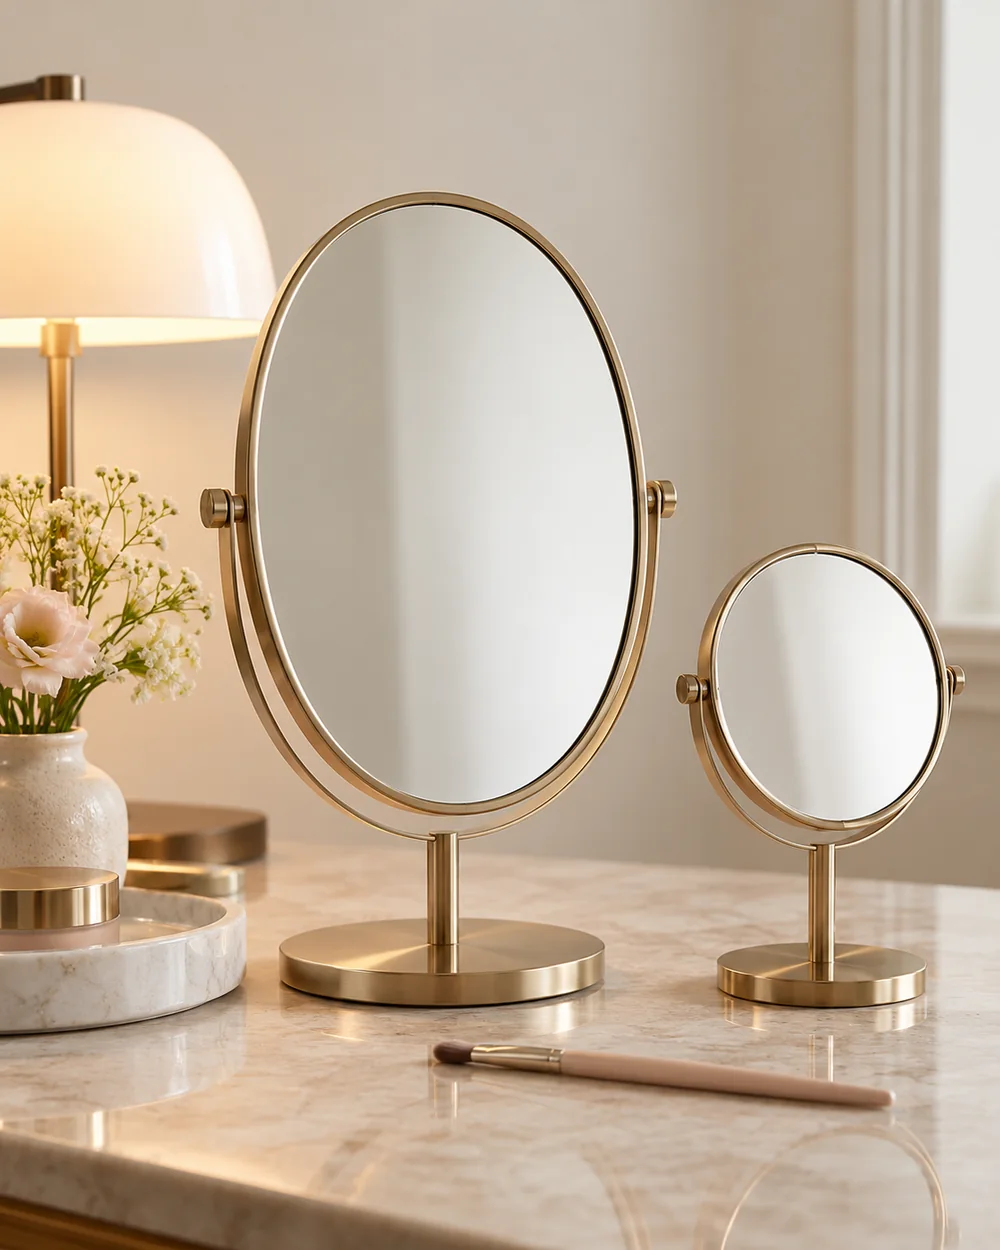
A makeup mirror should make a task easier to see without making you lean, squint or hold a tool awkwardly. The strongest magnification is not automatically the best purchase. Your useful choice depends on what you can see comfortably, how close you need to work and where your hands have room to move.
RNIB’s original guidance for applying makeup with sight loss includes illuminated and magnifying mirrors, flexible positioning and organised tools. It describes options, including an individual’s experience, rather than prescribing one magnification for everyone. This edit follows that practical approach.
Begin with the job you cannot see
Name the difficulty before shopping: finding the edge of lipstick, seeing a mascara mark, checking two shadow shapes, or viewing the whole face through glasses. A smaller close view can help one of these tasks while making another harder. If you can already see comfortably in an ordinary mirror, a new magnifying one may add little.
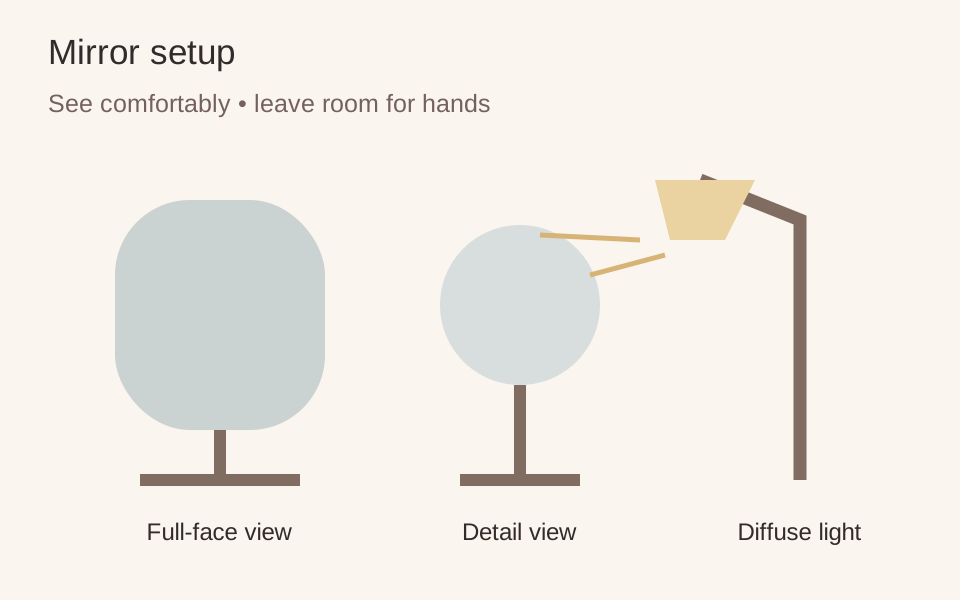
Try a mirror at the distance where you would actually sit. Move your hand into position as though applying lipstick or mascara. Check whether the frame blocks the approach, whether the stand wobbles and whether you can adjust its angle without holding it continuously. A mirror that works only while you crane your neck is unlikely to be a useful everyday tool.
Change the light before the purchase
Compare your current setup with more even light from a window or a diffuse adjustable lamp. Avoid staring into bright exposed bulbs. Move the light and mirror until you can see the area without an inconvenient shadow from your hand or frames. Brightness and position are separate decisions; simply increasing brightness may not solve glare.
If useful, keep a full-face mirror and a smaller detail mirror available. Use the closer view to place the product, then change to the broader view to judge colour and overall balance. You do not have to repeatedly inspect every pore or line. The purpose is to see the makeup job you chose, not to discover extra details to cover.
Keep the table easy to navigate
Leave a clear landing place for the product in your hand. A small tray can keep caps and applicators from rolling away. Put products in a familiar order and use distinguishable labels or tactile organisation if that helps. RNIB also discusses consistent routines and using touch; visual magnification is one option within a wider set of approaches.
When testing a new mirror, use a familiar low-stakes task rather than an unfamiliar sharp tool. Notice whether the stand stays steady and whether you can return to the same position easily. If you use glasses for application, test with them. Advice about which lens or magnification is suitable for your vision belongs with your optician or relevant professional.
A clear reason to buy
Buy when you can say what the new mirror changes: a stable close view for the lip edge, a more adjustable angle, or clearer lighting at your chosen chair. Keep your existing mirror if a lamp position or a less crowded surface solves the problem. The right setup leaves you able to finish and move away comfortably.
Choose tools and products for the job you need. Check the directions, care information and any compatibility guidance for your own items.