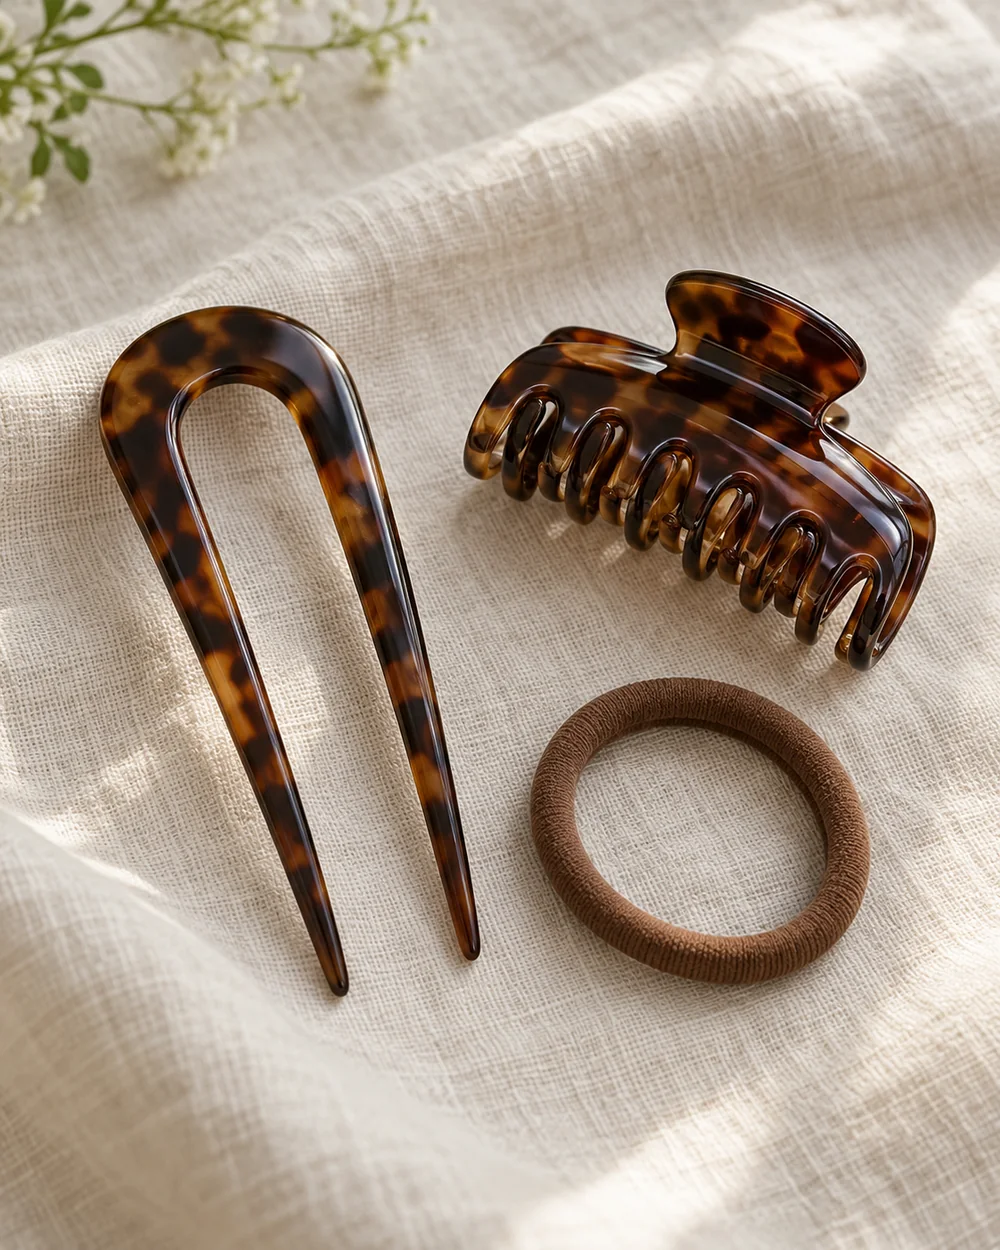
The practice goal is to see what one comfortable braid does to your own hair, not to reproduce a promised curl pattern. Hair length, existing texture, braid size, starting moisture and time all affect the result. Begin with a small daytime experiment so you can learn which of those variables matters in your routine.
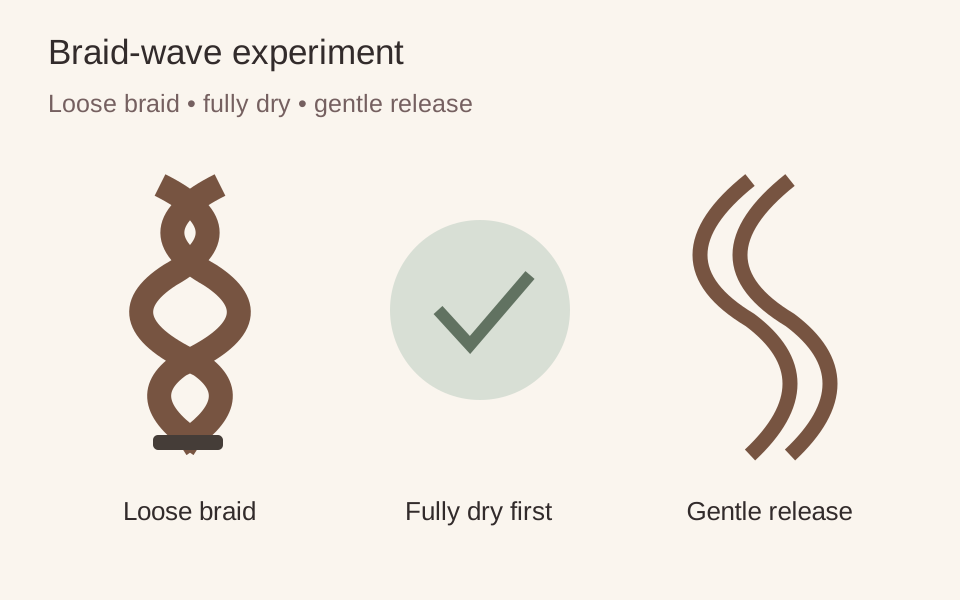
Aveda’s original heatless-wave demonstration uses barely damp hair and braiding. Try a simpler loose-braid comparison during the day. The illustration shows loose waves with one remaining braid.
Round one: choose one section
Use your normal gentle detangling method if needed. Start on dry hair for an easy low-commitment trial, or barely damp hair if that fits your usual styling and can dry fully during the day. Do not soak the hair simply to follow a trend. Keep any familiar styling product within its own directions; adding several new products would make the comparison harder to interpret.
Separate a section you can braid comfortably. Divide it into three and cross the outside sections over the middle in a relaxed ordinary plait. Secure the end with a soft tie. Keep enough slack that the braid does not pull at the scalp or feel tight when you move your head.
Round two: release without forcing
If the hair was damp, wait until it is fully dry before releasing. Undo the tie and separate the braid gently from the ends upwards. Use your fingers to arrange the result first. Repeated brushing may change the definition, which might be desirable for a softer look but makes it harder to observe the original pattern.
Notice what happened: a broad bend, a more visible crimp, little change or a different pattern at the ends. All are information. Take a simple note of section size, starting condition and the result you liked. This is an observation exercise, not proof that your hair should respond like someone else’s.
Change one variable
For a broader pattern, compare a larger section or a looser braid next time. For a more distinct pattern, compare a smaller section while keeping the tension comfortable. If the ends remain straighter, decide whether you like that contrast before trying to braid closer to them. Do not pull tight in an attempt to create more lasting waves.
Very short layers may fall out; a small side braid or a different accessory can be a better option. If you already have curls or coils, a braid changes their arrangement rather than supplying a texture you supposedly lack. Keep your existing texture if that is the result you prefer.
Your stopping point
Release the braid if it causes discomfort or tangling. Heat-free describes the absence of a heated tool in this method, not a guarantee against every kind of damage or a promise of all-day hold. When you find a comfortable section size that gives a pattern you like, repeat that setup before buying a new styling kit. A single braid beside natural hair is also a finished hairstyle.
Adapt the styling idea to your hair length, texture and preferences. Follow the directions on your own tools and products.